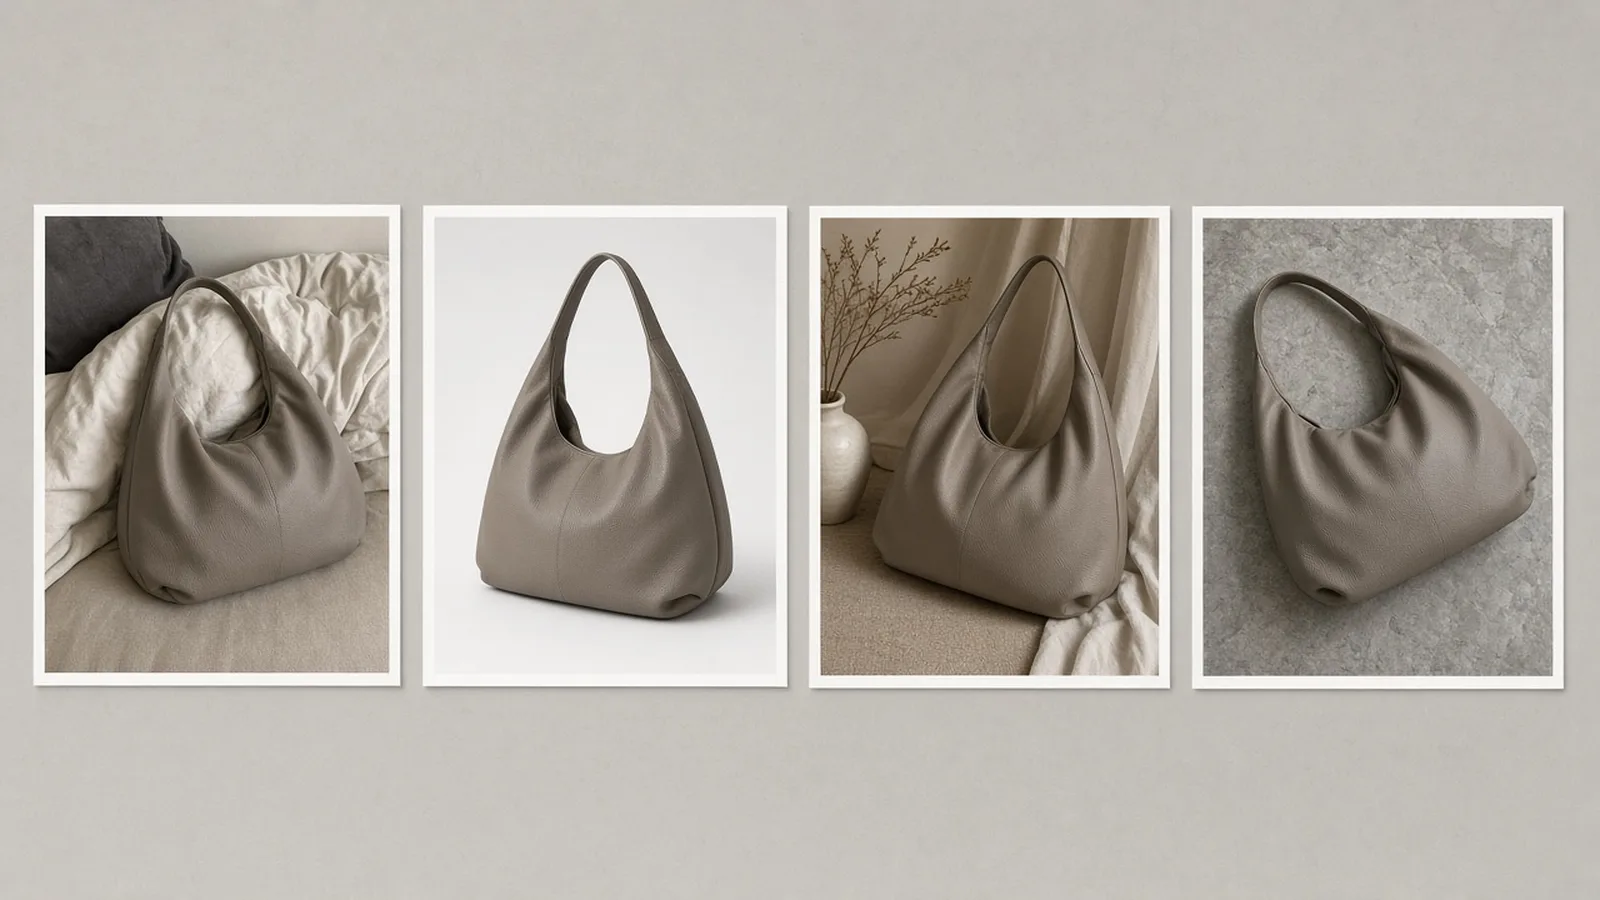


30:00
BF 50% OFFClaim

AI Bag Product Photography Generator

Upload one bag photo, choose shot type and angle, and generate. Compare hardware, stitching and straps with the real bag.

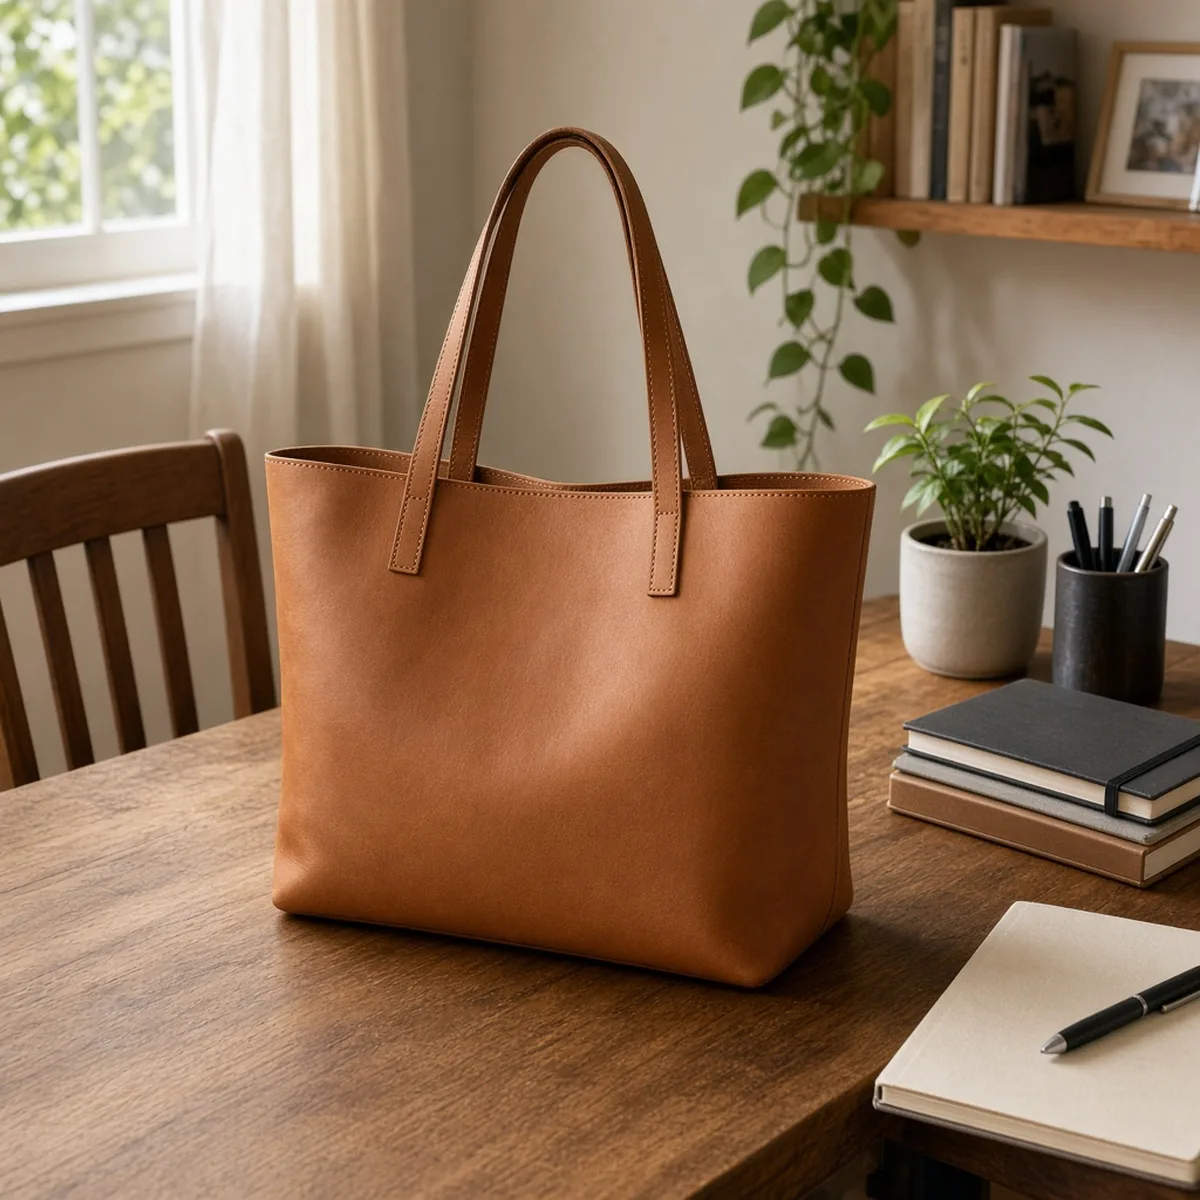
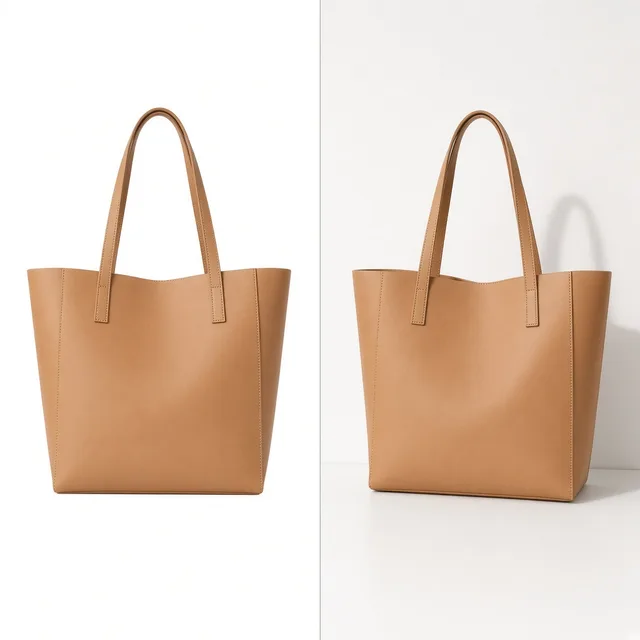
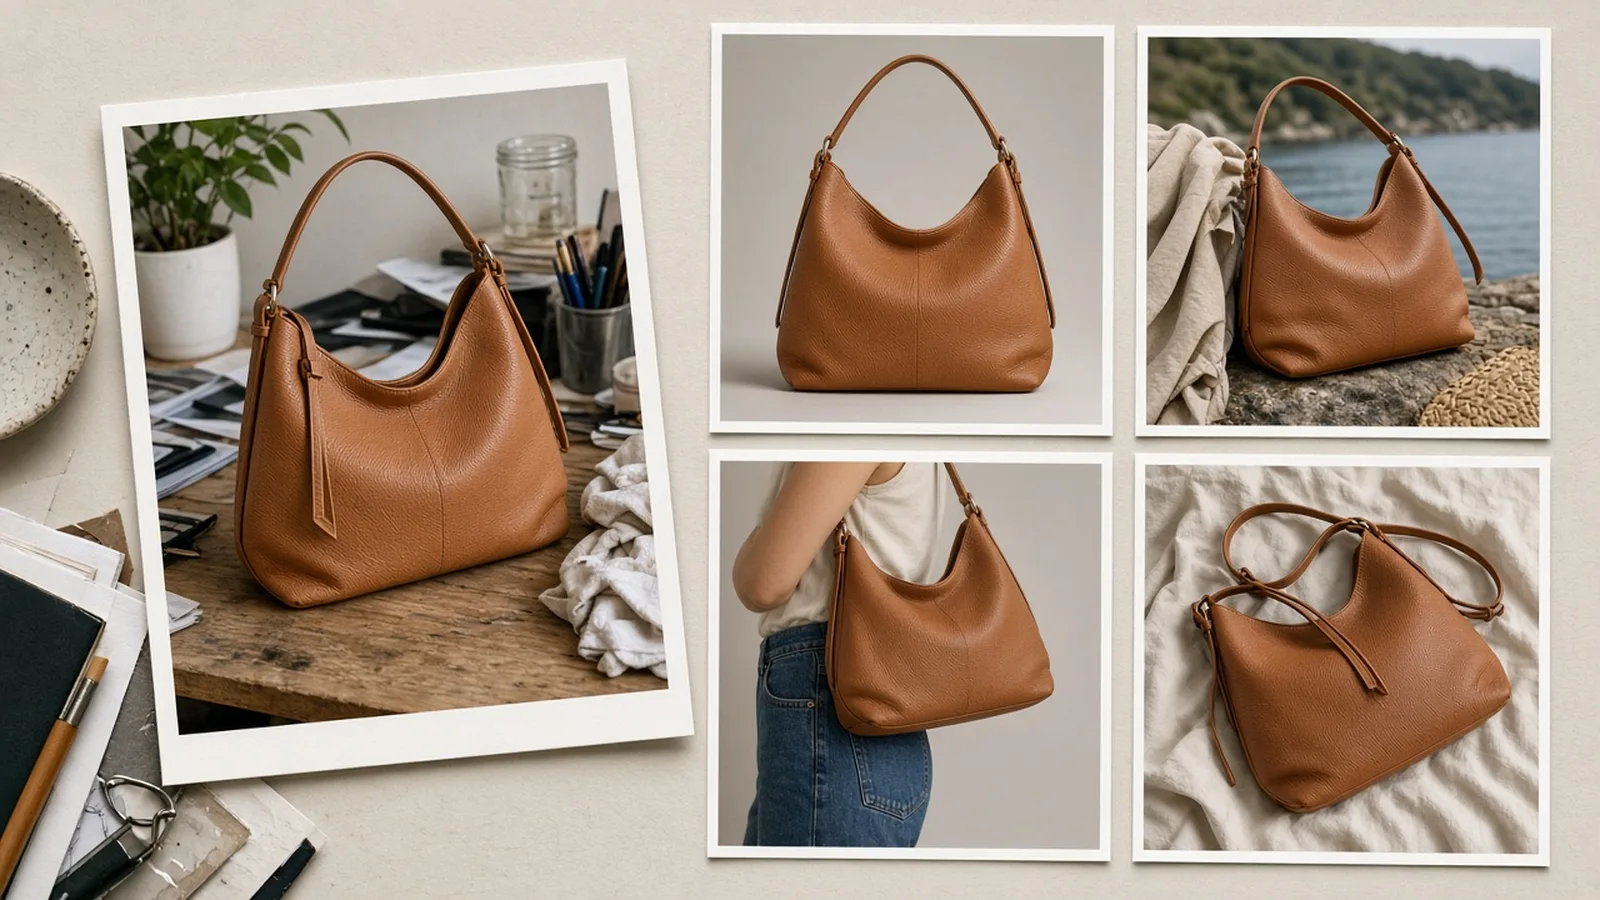
Unbranded tan leather tote bag snapped on a wooden desk
Snapshot
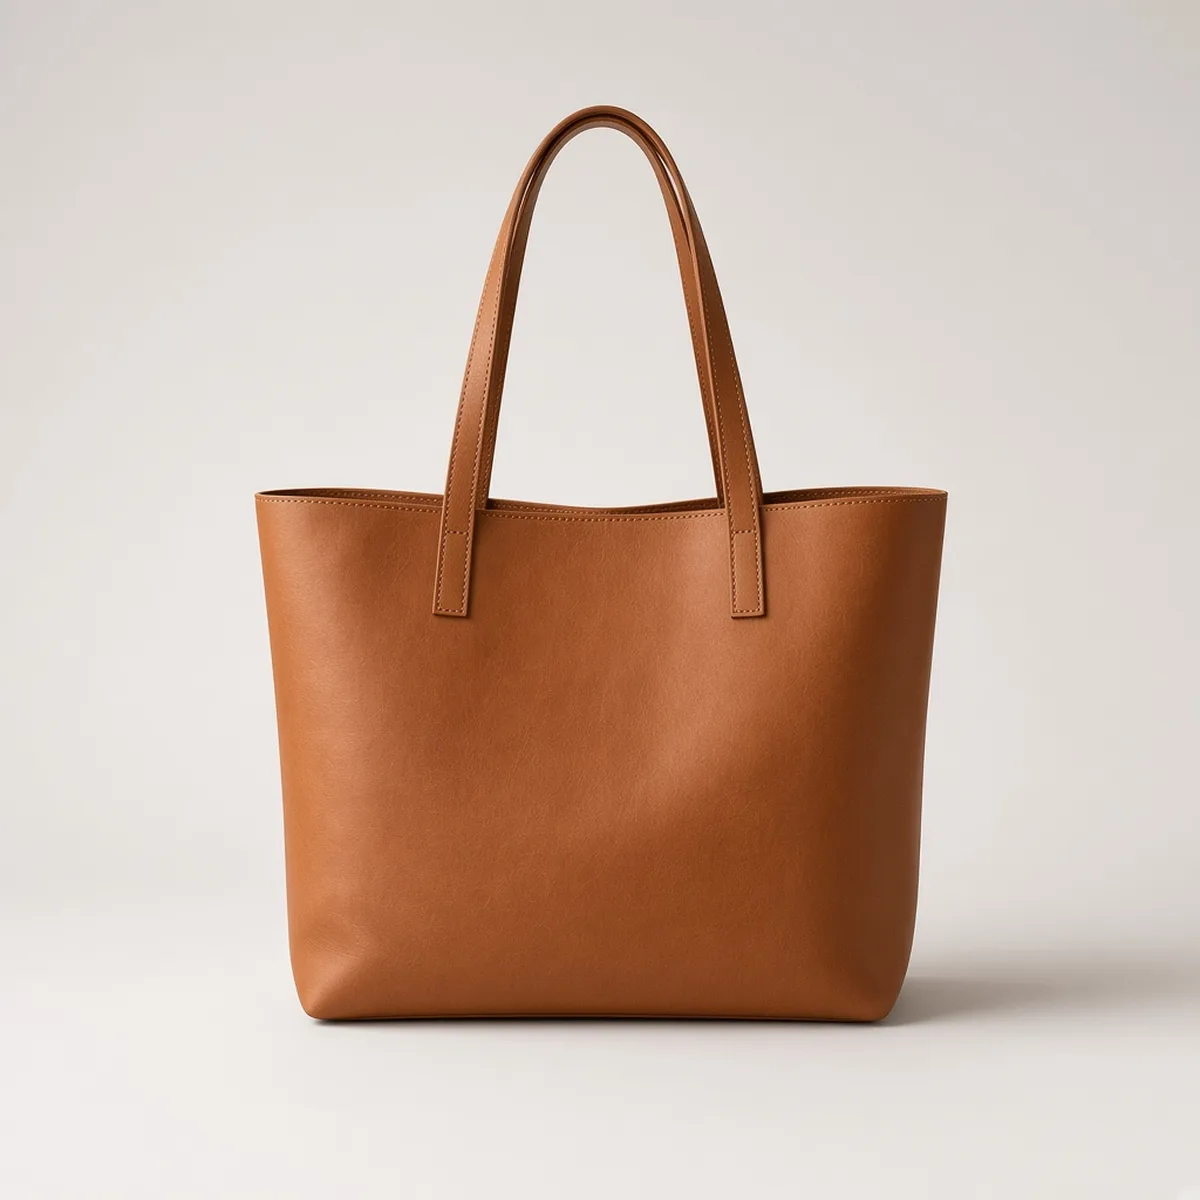
The same tote in a clean light studio front shot with a soft shadow
Bag photo

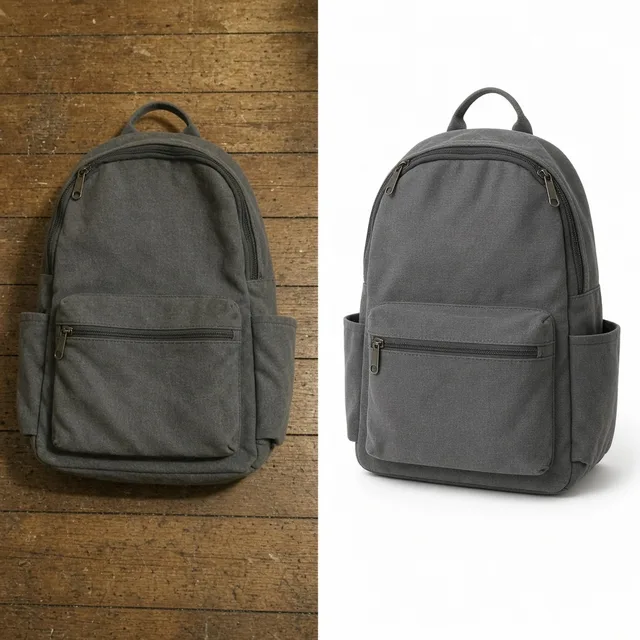
Desk snapshot → light studio front shot

Bag Tools

Shoot the Bag, Then Keep Going

After the AI bag product photography generator makes your shots, add shadows, change colorways or make a white main image with the tools below.

White Background
White BackgroundClean white listing photos in secondsTry it →
Lifestyle Scene
Lifestyle ScenePlace products in real-life scenesTry it →
Jewelry Photography
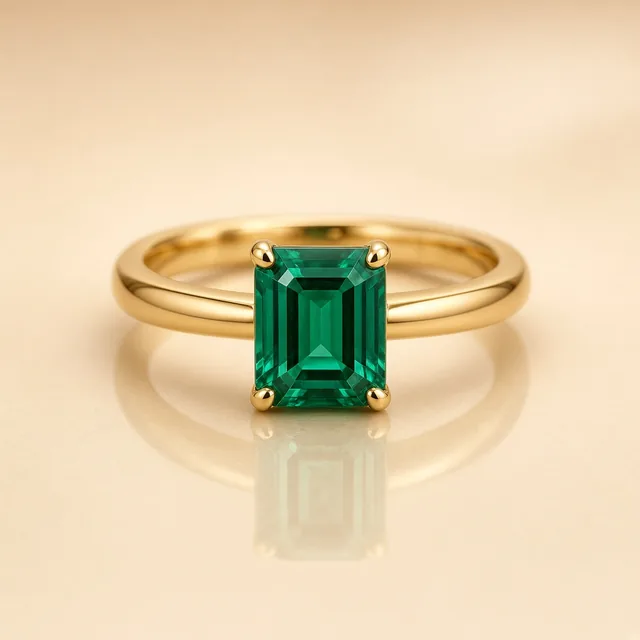
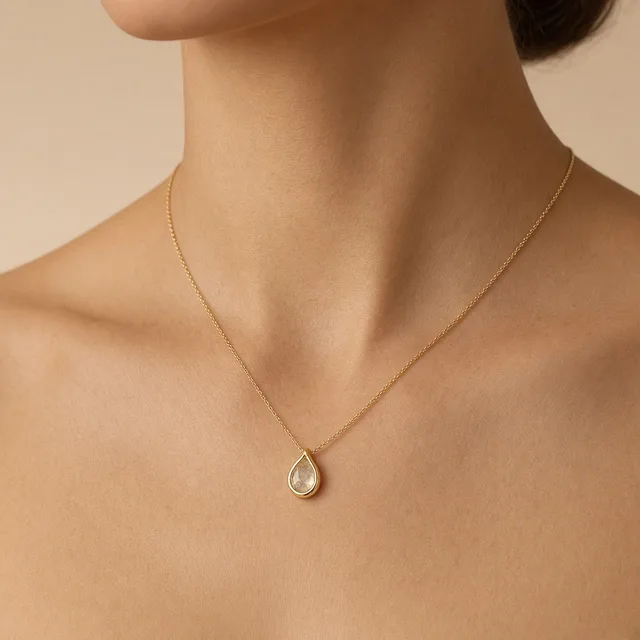
Jewelry PhotographyStudio and scene shots for rings and necklacesTry it →
Furniture Staging
Furniture StagingPlace furniture and decor in real roomsTry it →

What it is

What Is an AI Bag Product Photography Generator?

An AI bag product photography generator turns one photo of a bag into listing-ready handbag and luggage photos.

How it works

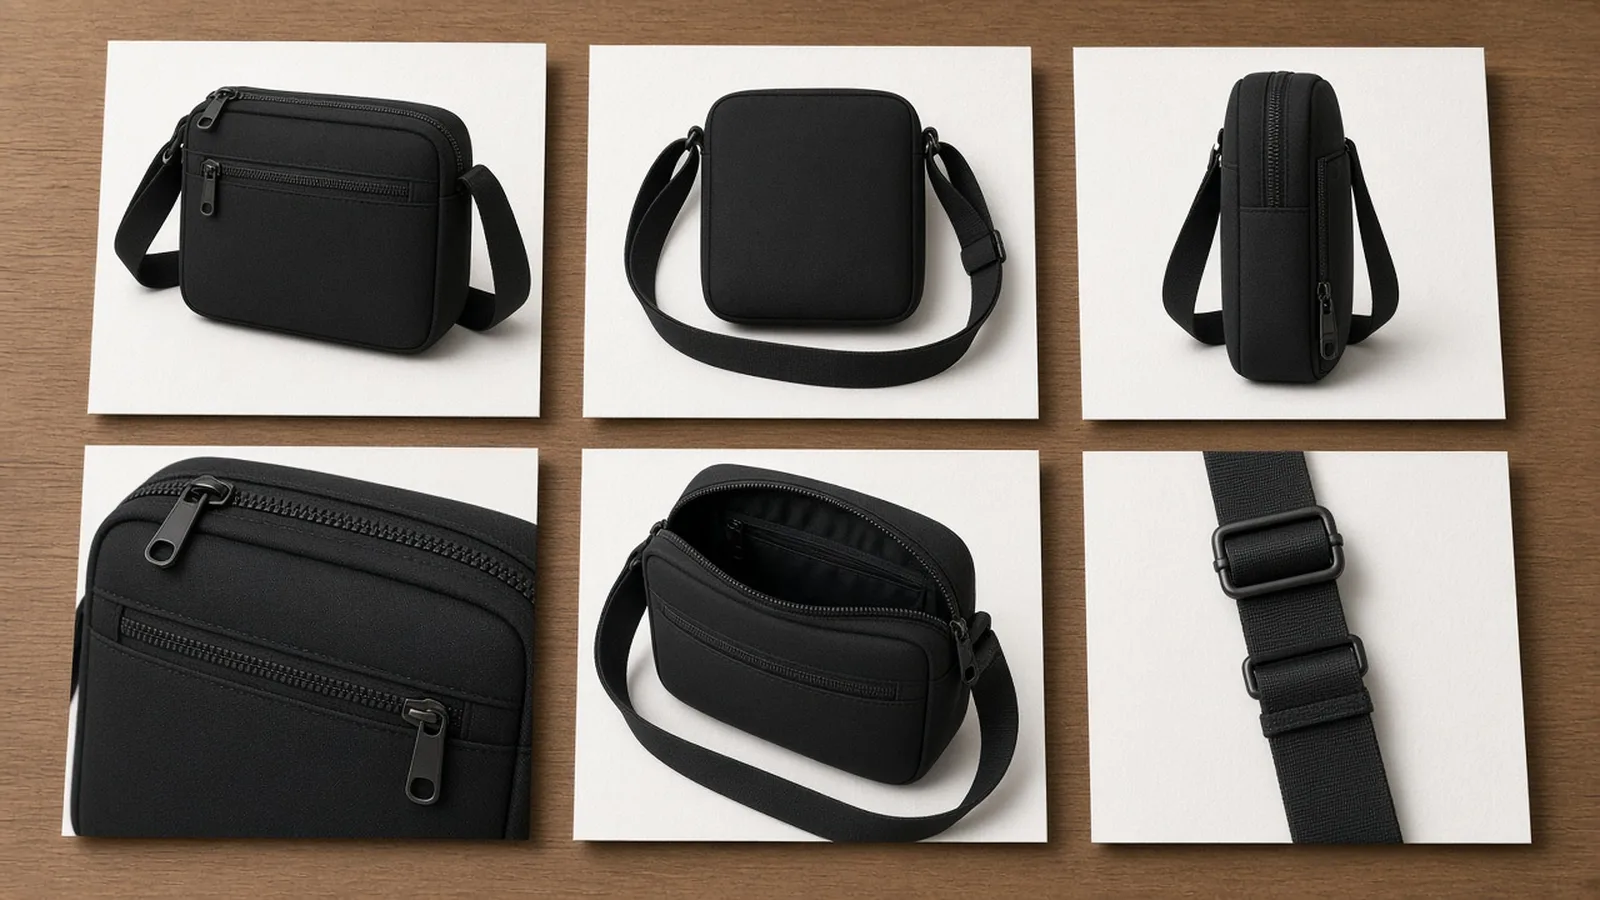
You upload a tote, crossbody, handbag, backpack, clutch, duffle or wallet, choose a shot type (studio, lifestyle, on model or flat lay), an angle (front, three-quarter, side profile or open interior) and a background tone, and the AI rebuilds the bag in that setting with clean light and believable contact shadows.

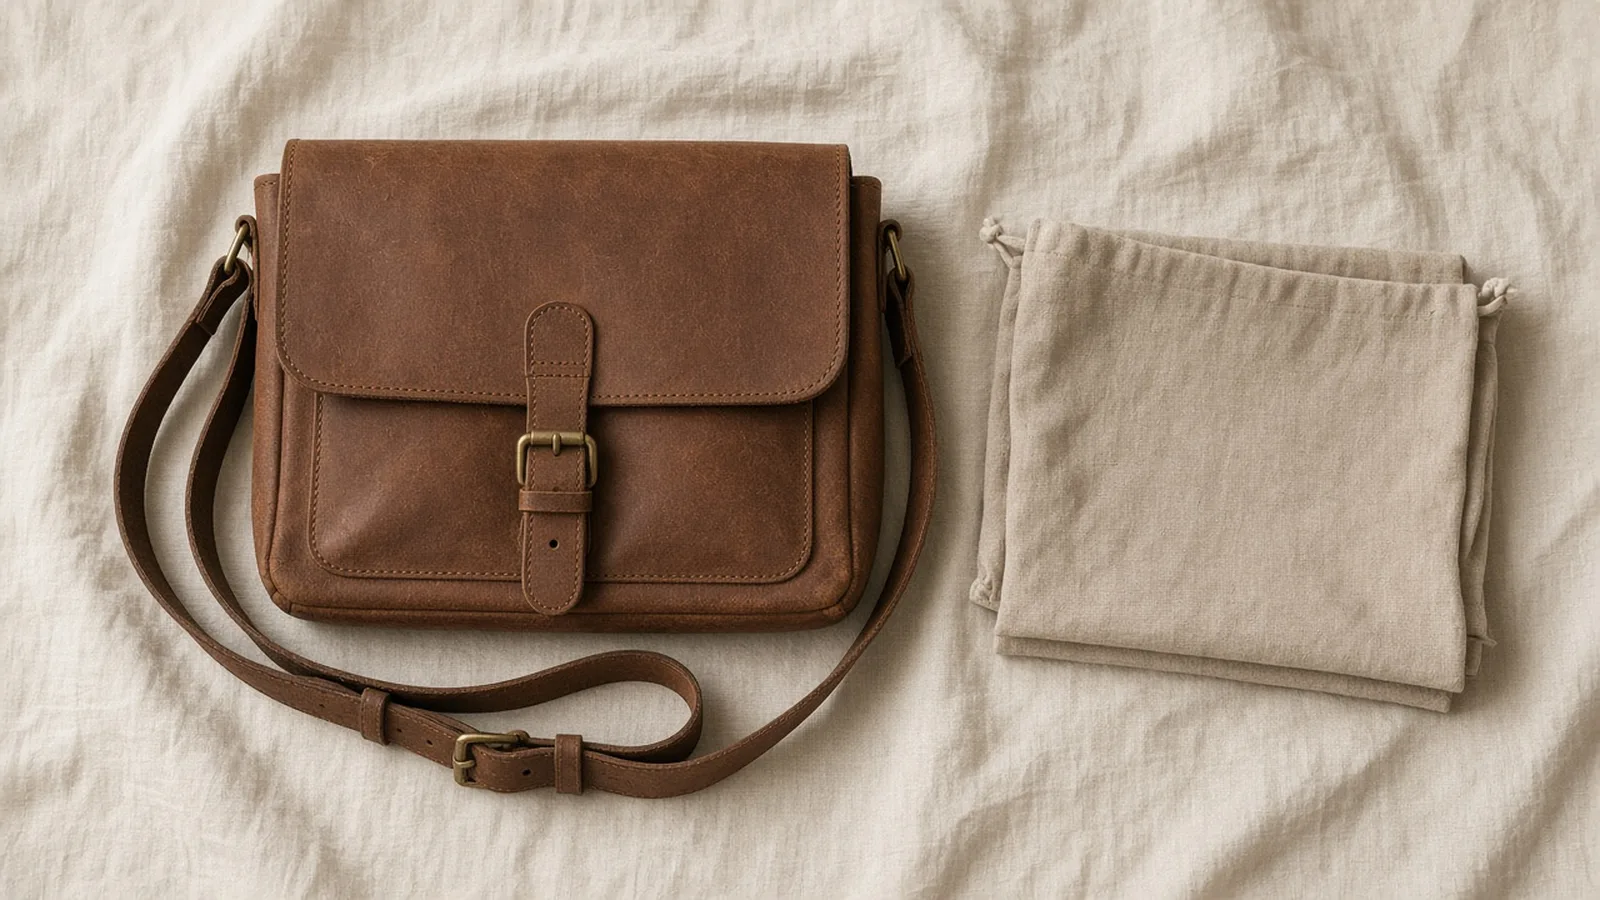
A snapshot of an unbranded handbag next to a studio shot and an on-model photo

Credits and how it runs

On ProductShot AI, each image uses 10 credits, and you can generate 1 to 4 images at a time. New accounts get one free generation.

You sign in to generate, and results are saved to your history, so you can create an on-model shot after the studio shot and continue modifying without re-uploading. The credits for each run are shown under the Generate button.
How to shoot the source photo

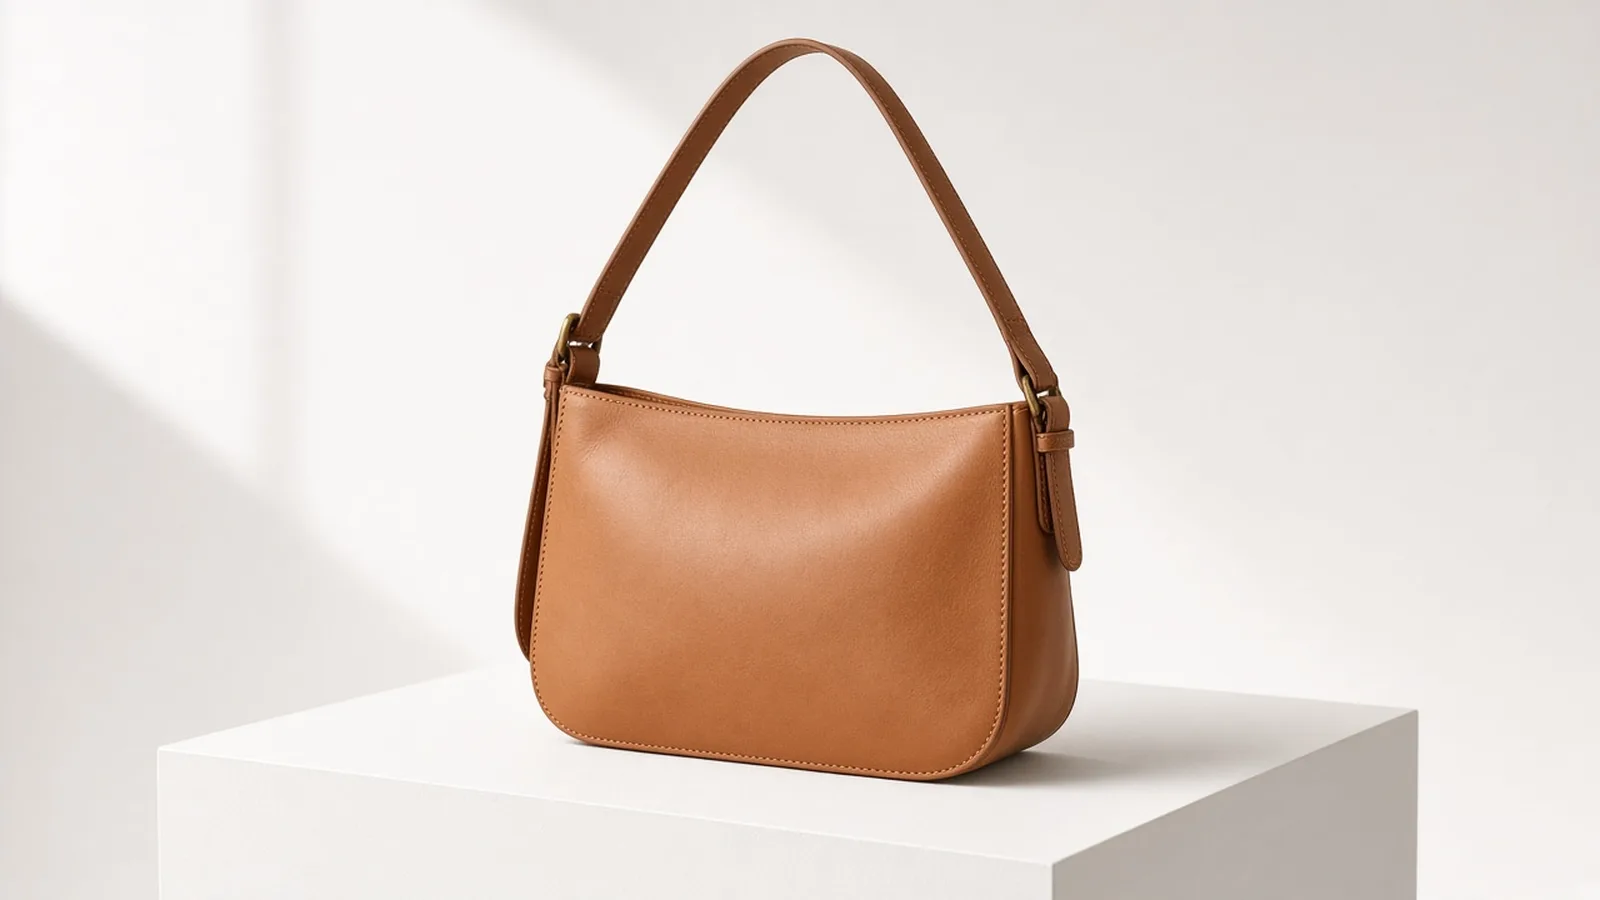
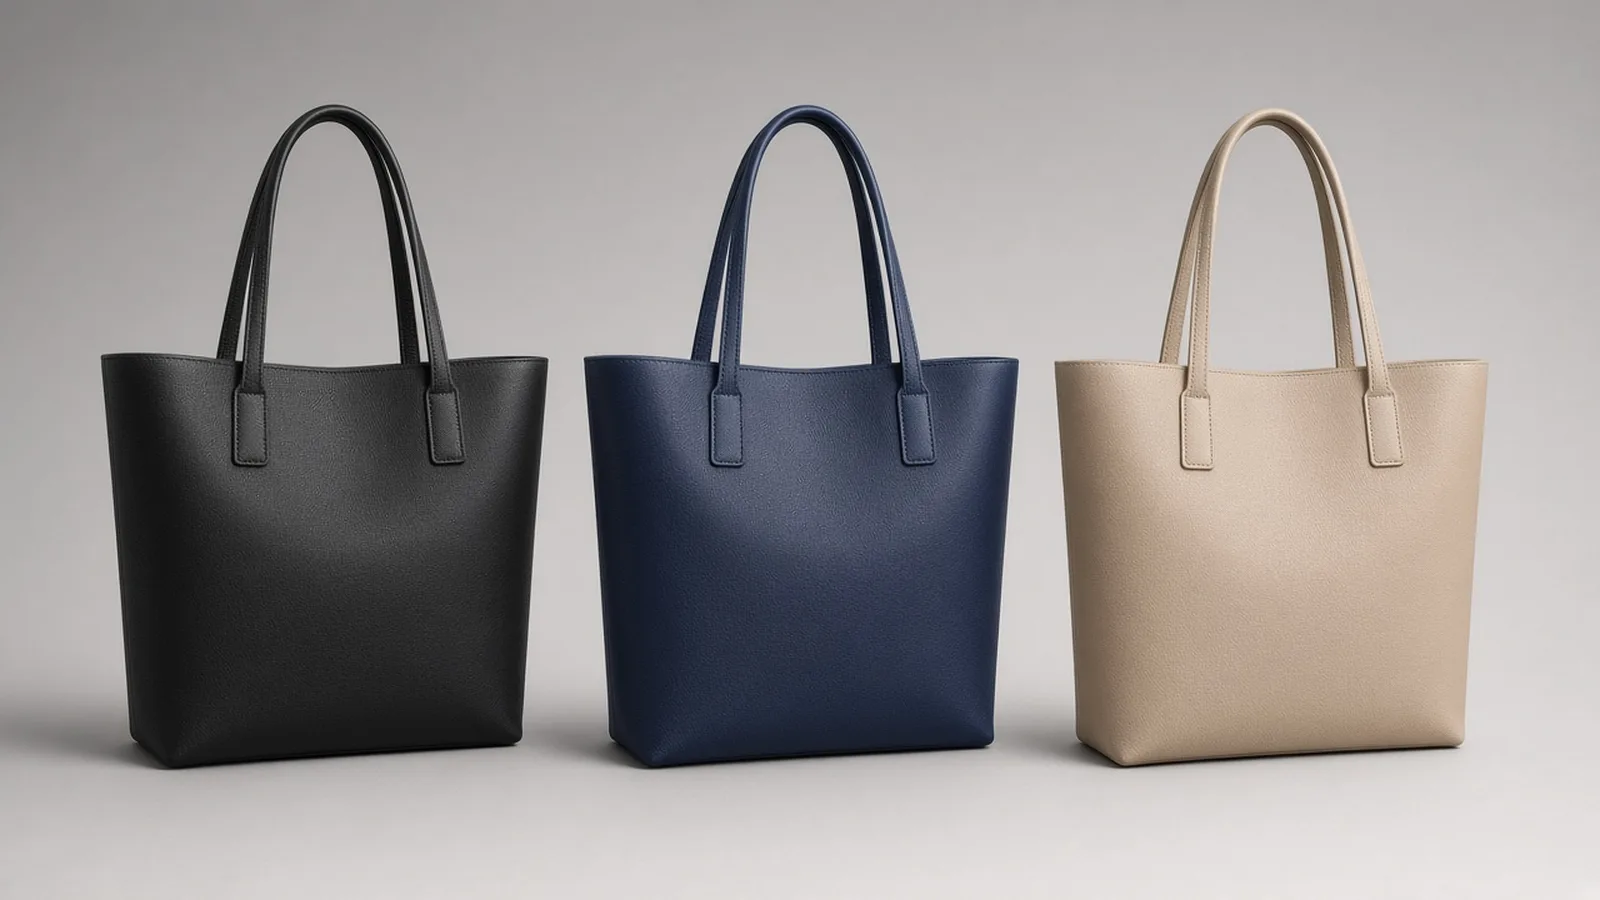
A clean front or three-quarter photo in daylight gives the AI bag product photography generator the most to work with. Stuff the bag so it keeps a full silhouette, arrange straps and handles neatly, and wipe metal hardware.

Avoid photos where the bag is partly obstructed or cut off. To show side depth or interior pockets, upload a photo that clearly shows those views.

Which shot type to choose

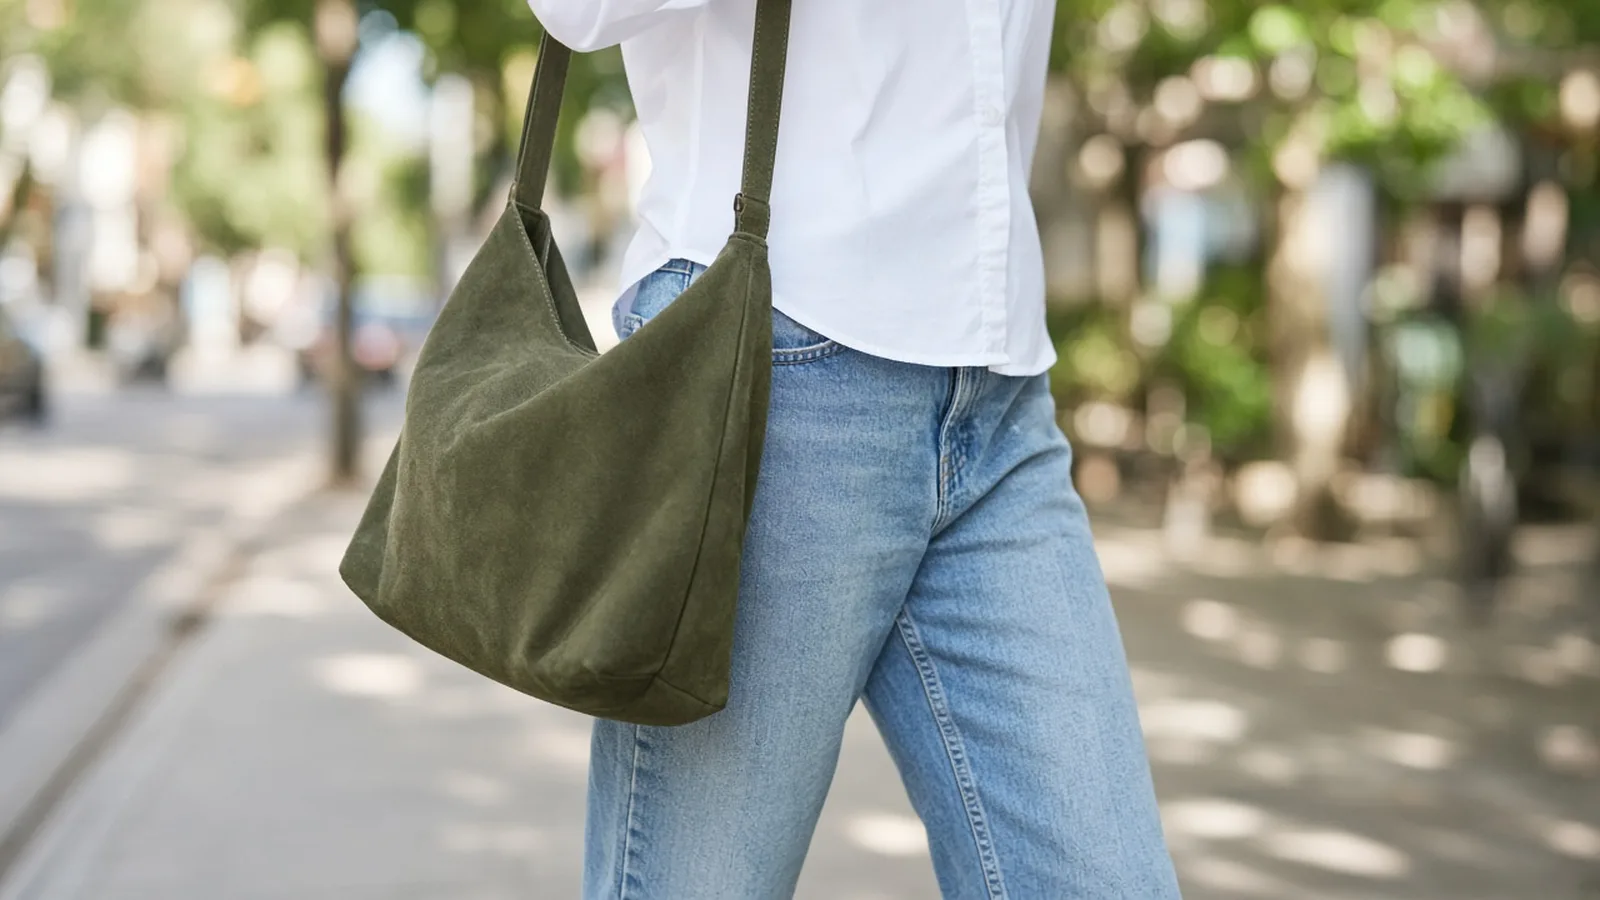
Each shot type has a job. Studio gives clean main and secondary listing images. Lifestyle places bags in natural café, city or home settings. On model shows real wearing scale and strap drop length cropped from shoulders to legs without showing faces. Flat lay neatly arranges small pouches, wallets and daily carry items.

Use color pop backgrounds for new drops and dark tones for premium leather goods.

How it differs from other photo tools

It differs from the AI Product Background Changer, which swaps the backdrop while locking your original angle, and from general AI Product Photography, which handles arbitrary goods.

This page is tuned for bags and luggage: maintaining dimensional silhouette, hardware reflections, faceless on-model scale, and open interior views. Pair it with the AI Product Color Changer for seasonal colorways.

How to check a bag photo

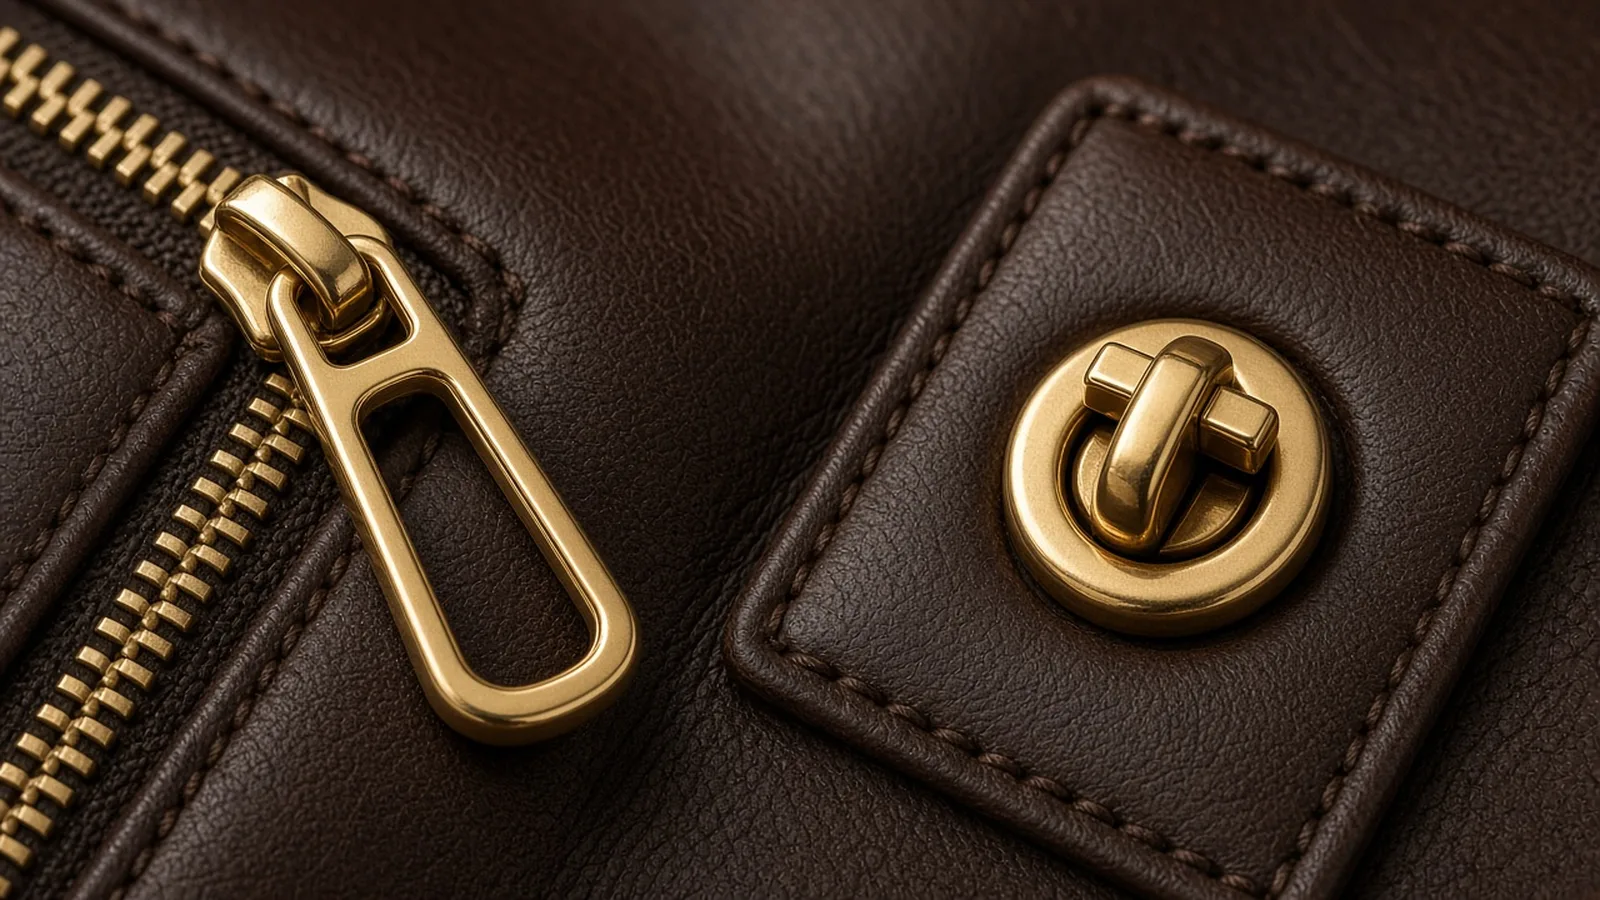
To check a bag photo, look at four things in order. First the silhouette and scale: overall dimensions and structured profile. Then the hardware and stitching: zipper teeth, locks, buckles, and clean seam lines.

Then the straps and handles: drop length, strap width, and anchor points. Finally, for open views, verify that pockets and compartments match the real product.

When to take extra care

Some cases need care. Do not use generated images to imply materials, genuine leather grades or waterproofing the bag does not possess.

For branded resale, keep real photos of authenticity stamps, hardware engraving and serial tags, because buyers and marketplaces look for them. And follow marketplace guidelines, such as pure white backgrounds for main photos.

Four shot types

Studio, lifestyle, on model, flat lay.

Four angles

Front, three-quarter, side, open.

Three tones

Light, color pop, dark.

Details kept

Hardware, stitching and straps.

Compare versions

Generate 1 to 4 next to the original.

Clear pricing

10 credits per image, shown under the Generate button.
Why ProductShot AI

Built for Bags & Luggage

Every setting is tuned for bag silhouettes, hardware sheen and on-body scale.

Details kept

Hardware, zippers and seam placement.

True materials

Leather texture and fabric colors stay consistent.

Real-world light

Studio lighting, lifestyle scenes and soft ambience.

Images used for your run

Uploaded images are used to generate your result.

Common notes in one click

Polished hardware, filled shape, neat straps.

Honest about limits

Compare every detail with the real bag.

Use Cases

Five Times Bag Sellers Need Better Photos

Shoppers want the silhouette, the hardware and how it looks when carried.

Unbranded tote bag snapshot next to a clean studio version

Resale Listings

Clean studio shots from tabletop snapshots.

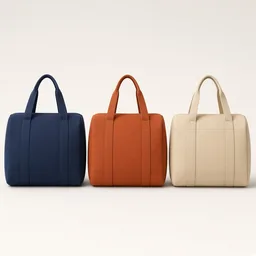
Row of unbranded leather bags in four colors, same angle

Colorway Sets

Every colorway in the same angle and light.

Unbranded crossbody bag worn on torso, cropped at the shoulders

On-Model Scale

Show size and drop length without booking a model.

Unbranded handbag showing metallic zipper and buckle details

Hardware and Texture

Zippers, locks, buckles and leather grain buyers ask for.

Unbranded open backpack displaying interior compartments

Open Interior

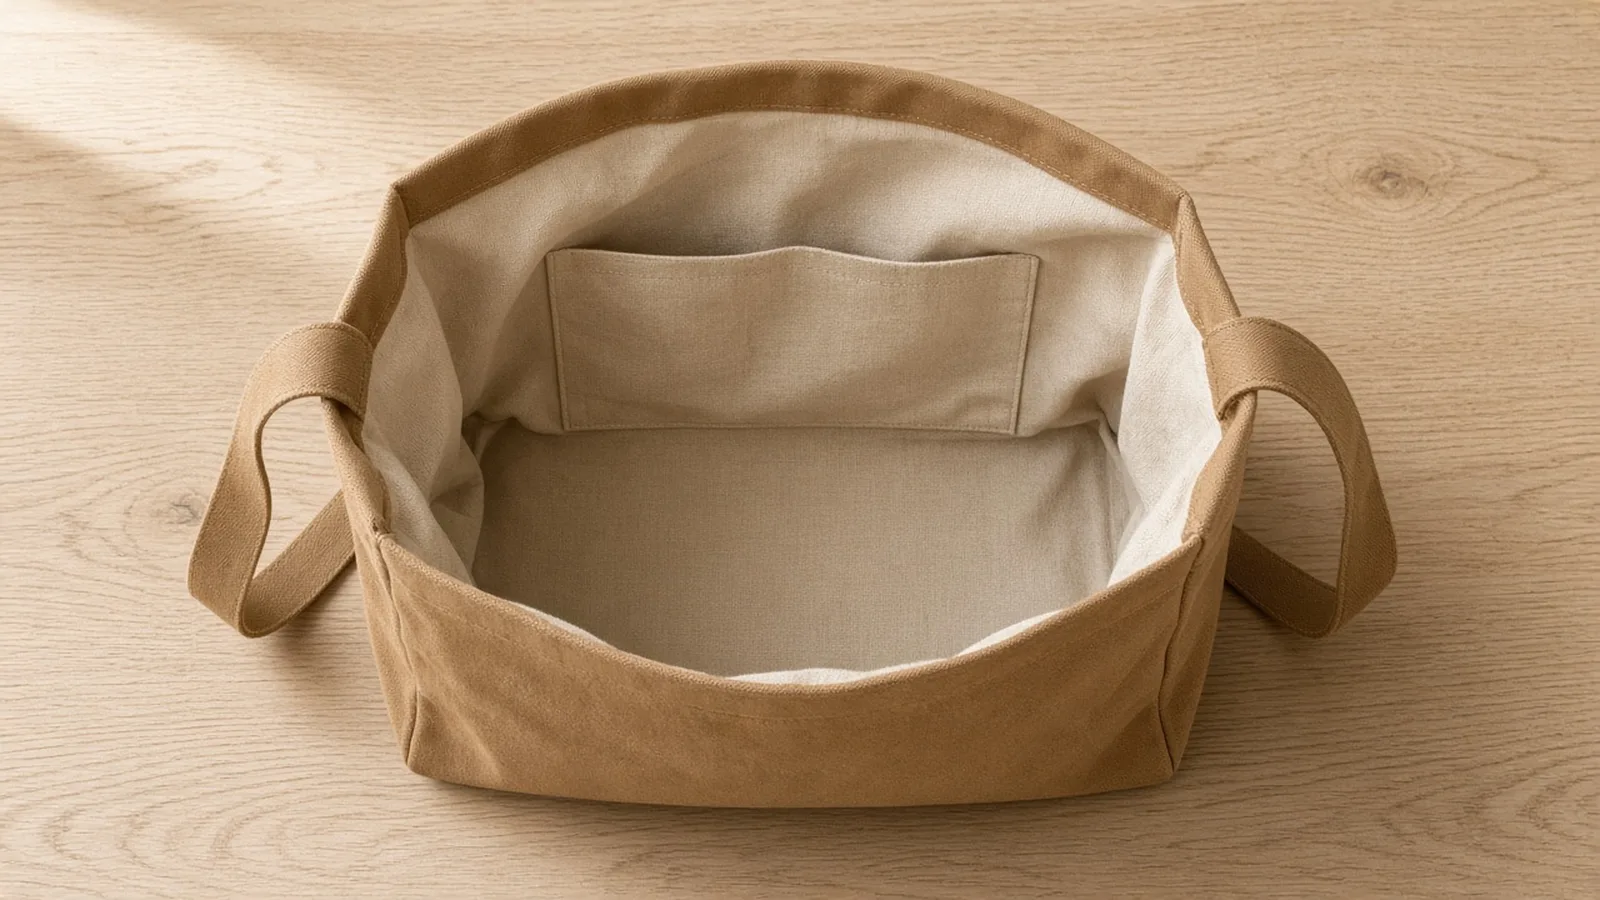
Pocket layout and interior capacity shoppers want to see.

By Channel

Where Bag Photos Get Used

Marketplaces, stores, resale listings and social posts.

How it works

Make Bag Product Photos With AI in 4 Steps

Upload one bag photo, then choose shot type and angle.

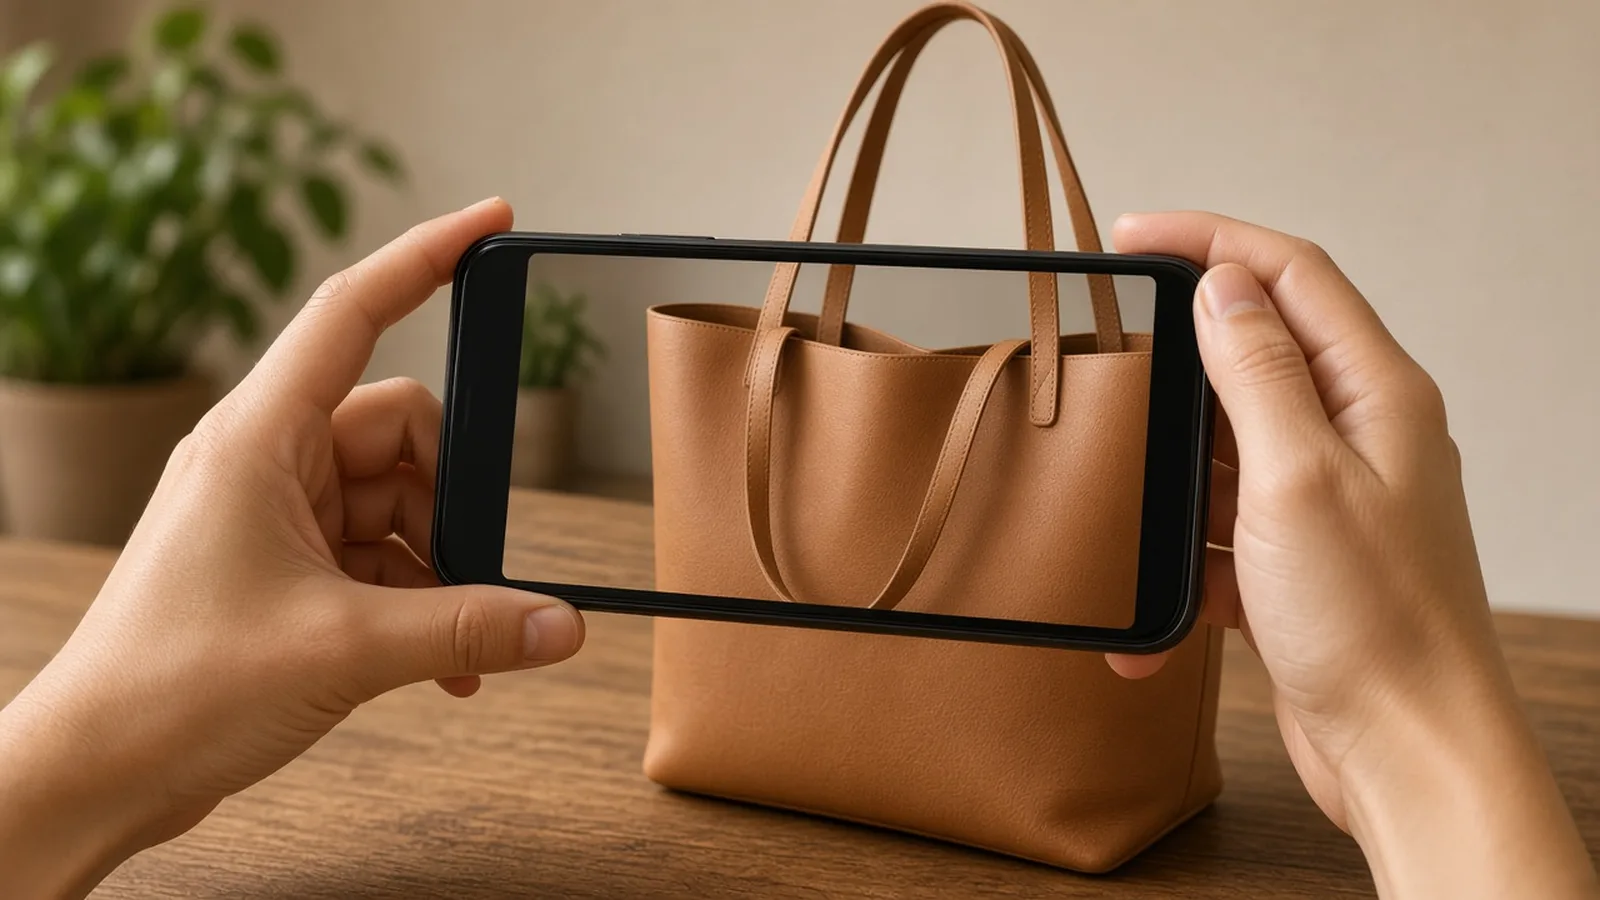
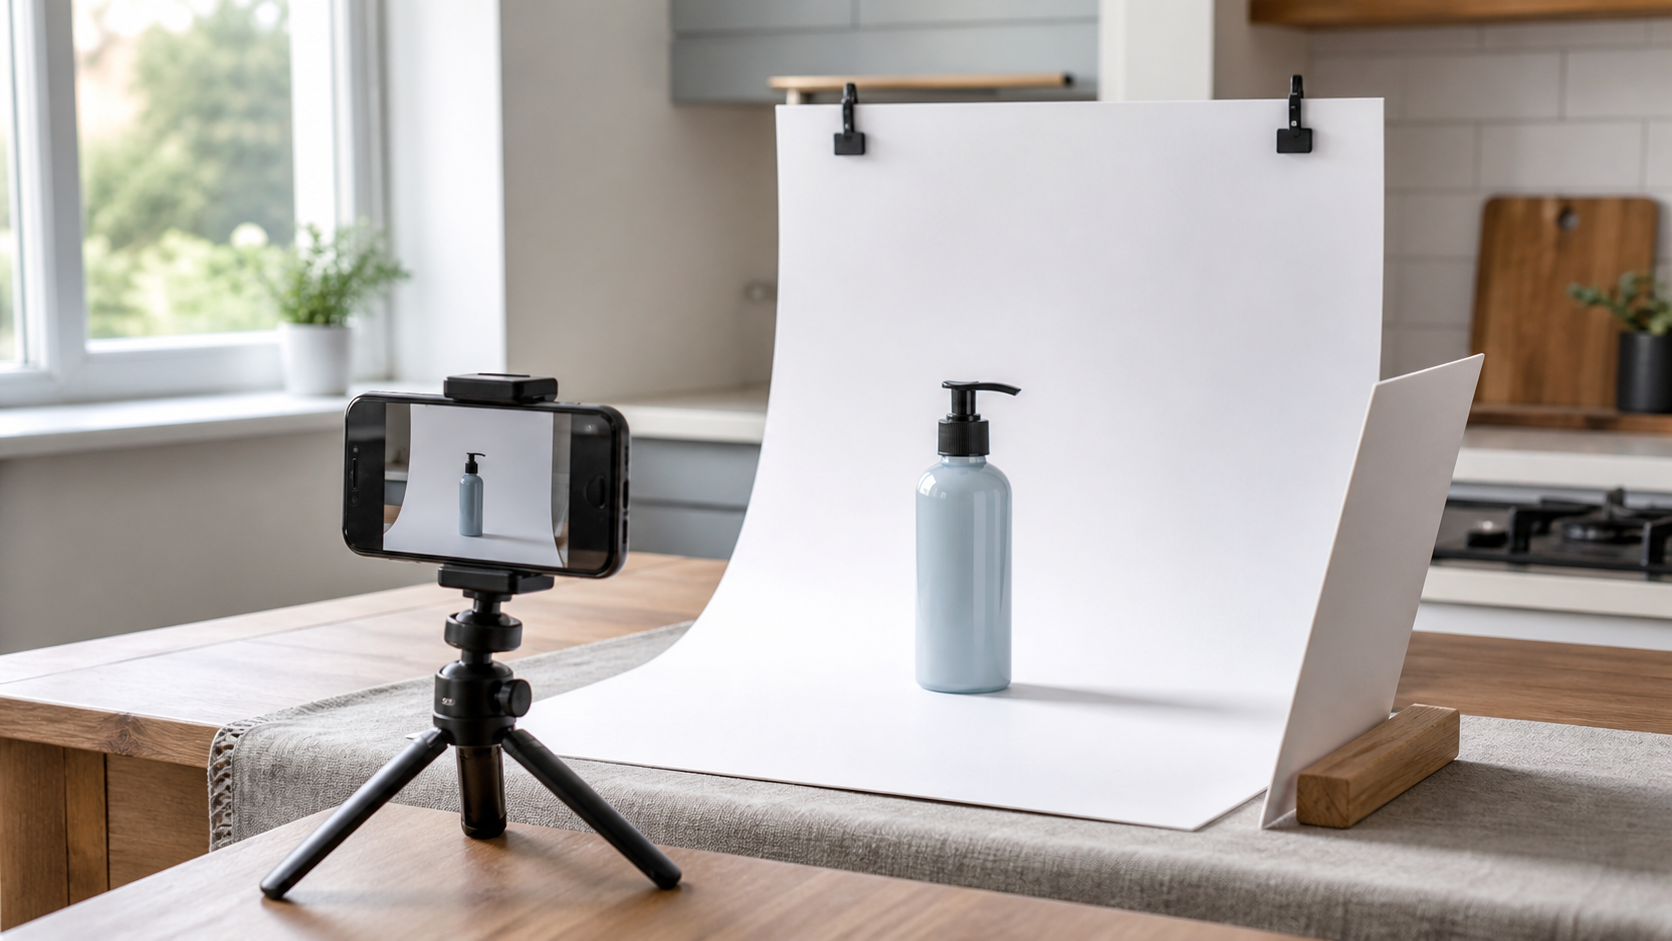
Photographing an unbranded tan leather tote bag on a clean table with a phone
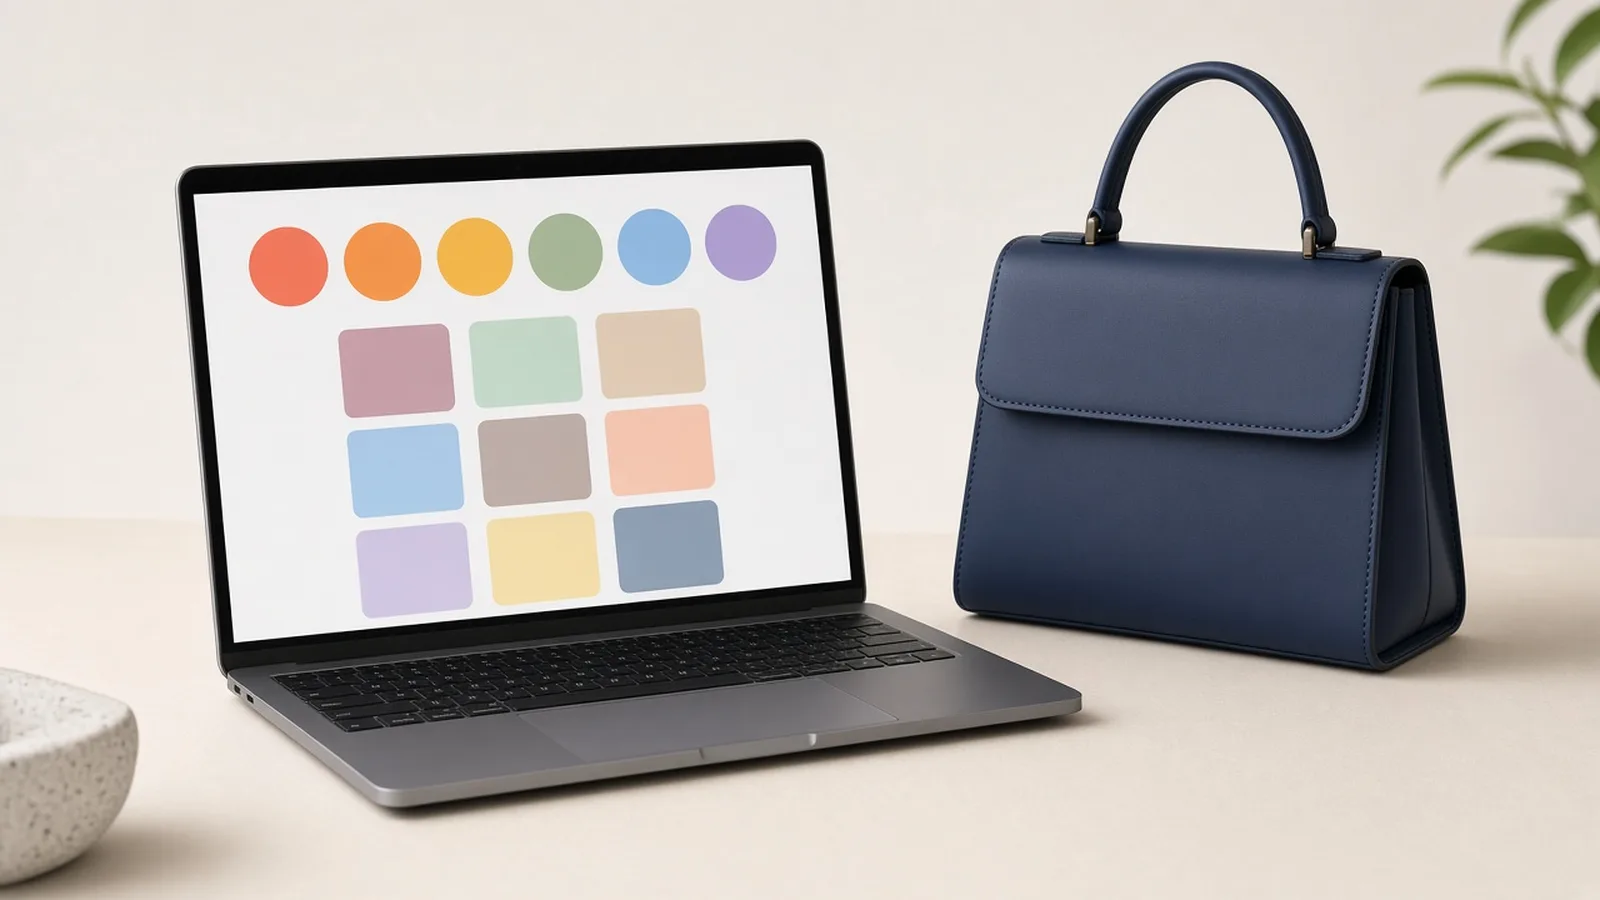
Laptop showing shot type, angle and background tone options next to an unbranded handbag
Prints of a bag snapshot and three generated studio and lifestyle versions laid side by side
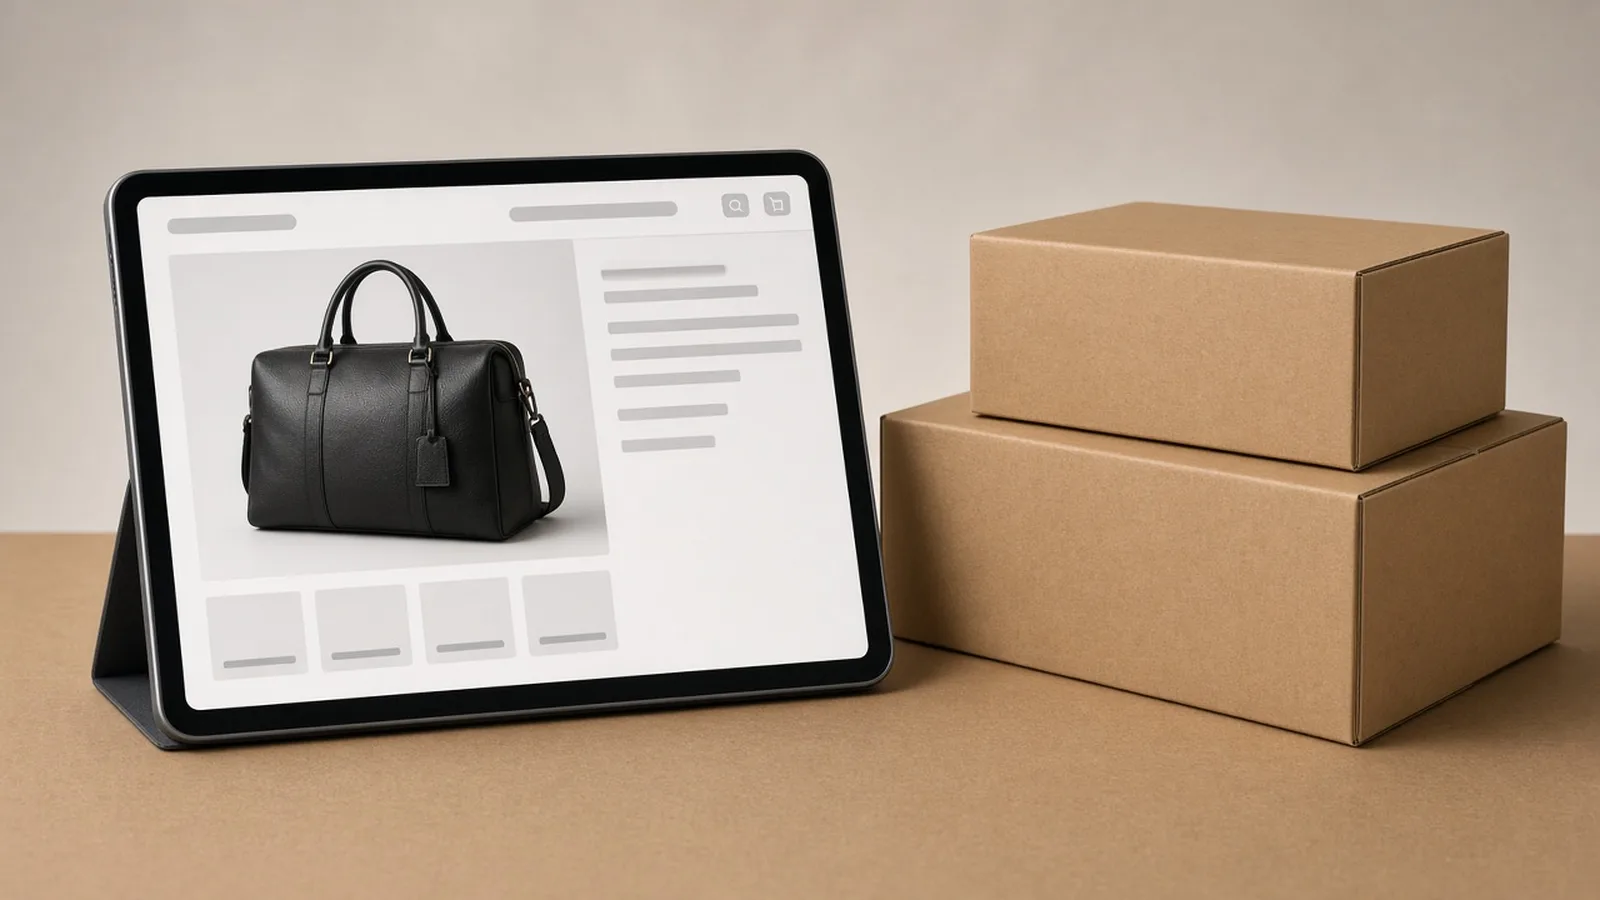
Tablet showing an online store product page with bag photos next to shipping boxes
01

Upload the Bag

Upload one sharp photo with the whole bag in frame, JPG, PNG or WEBP up to 16MB. A front view works best.

02

Choose Shot and Angle

Pick studio, lifestyle, on model or flat lay, then front, three-quarter, side or open view, and a background tone.

03

Generate and Compare

Generate 1 to 4 versions at 10 credits each and compare details with your photo.

04

Check and Publish

Check silhouette, hardware, stitching and strap length, then download for your listing.

Method comparison

AI Bag Photography vs a Handbag Photo Shoot

Three ways to get bag product photos.

Multiple

output styles

Reference-led

direction

Built-in

before-and-after review

Traditional Workflow

Book a Bag Shoot

Studio, lighting, a model and retouching for every colorway.

Cost
Studio, model and retouching fees×
Turnaround
Days per collection×
What You Need
Samples, studio and a model×
Iteration
A reshoot for each look×
Output Range
A few setups per day×
Product Accuracy
Exact to the real bag×
ProductShot AI

AI Bag Product Photography

Upload one photo, choose shot type and angle, and generate.

Cost
10 credits per image; new accounts get one free generation✓
Turnaround
Results appear on the page when generation finishes✓
What You Need
One clear photo of the bag✓
Iteration
Change shot type or notes and generate again✓
Output Range
Four shot types, four angles, three tones✓
Product Accuracy
Generated; check silhouette, hardware, stitching and strap✓

Tips

Three Ways to Get Better Bag Photos

Your photo and the angle choice decide most of the result.

Shoot the source photo

  • Shoot a well-stuffed front or profile view in daylight.
  • Straighten handles and shoulder straps neatly.
  • Wipe dust and fingerprints from buckles and zippers.
  • Upload an open bag photo for interior views.

Write the notes

Details + surface + light

Notes can cover these three things:

  • Keep gold hardware and edge paint exact.
  • Wooden café table and marble counter.
  • Soft diffused daylight from a window.

Avoid these mistakes

  • Do not upload a deflated or partly covered bag.
  • Do not publish without checking hardware and interior.
  • Do not imply leather grades or waterproofing you lack.
  • Do not replace authenticity photos in resale.

Further reading

Articles on lifestyle photos, listings and product images.

Best AI Lifestyle Photo Generators for Product and Model Shots (2026)Workflow
Jun 23, 20268 min read

Best AI Lifestyle Photo Generators for Product and Model Shots (2026)

Compare AI lifestyle photo generators for realistic ecommerce scenes, product preservation, catalog consistency, and campaign workflows.

Read Article
AI Product Photography Generator Guide: 7 Best Tools for 2026Guide
Jun 23, 20268 min read

AI Product Photography Generator Guide: 7 Best Tools for 2026

Compare AI product photography generators for white background images, studio shots, lifestyle scenes, and ecommerce campaign visuals.

Read Article
How to Take Professional Product Shots Without a Studio (or a Degree in Photography)Workflow
Jun 17, 20268 min read

How to Take Professional Product Shots Without a Studio (or a Degree in Photography)

A practical workflow for taking sellable ecommerce product photos with a phone, simple setup, and AI-powered variations.

Read Article
It Took Me Two Years to Understand Product Photography LightingLighting
Jun 20, 20268 min read

It Took Me Two Years to Understand Product Photography Lighting

A practical guide to product photography lighting, soft light, fill light, backlight, reflection control, and difficult materials.

Read Article
The Real Problem With White Background Product Photos (And How I Solved It)White Background
Jun 18, 20268 min read

The Real Problem With White Background Product Photos (And How I Solved It)

Learn why white background product photos are harder than they look, how platform rules differ, and how to preserve details.

Read Article
I Spent $20,000 on Product Photography — Then AI Changed EverythingCase Study
Jun 16, 20268 min read

I Spent $20,000 on Product Photography — Then AI Changed Everything

A seller shares what traditional product photography costs, why product fidelity matters, and how AI changed the workflow.

Read Article
Reviews

How Sellers Use the AI Bag Product Photography Generator

Feedback from some of our users. Thumbnails show products from their categories.

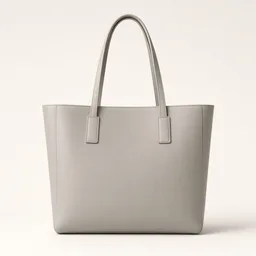
Unbranded tote bag studio shot
Ms. Zhang

“Desk snapshots turned into clean studio shots. The bag silhouette stays nicely structured.”

Tote bag store owner
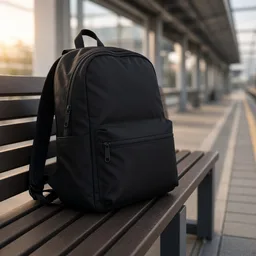
Unbranded backpack in lifestyle scene
Mr. Lin

“Outdoor and commuter lifestyle shots without scheduling an on-location shoot.”

Backpack brand founder
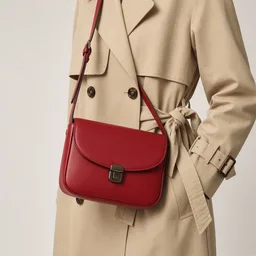
Unbranded crossbody bag on model
Ms. Chen

“Faceless on-model views are great for showing scale and strap drop length.”

Handbag boutique owner
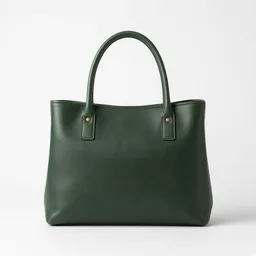
Unbranded vintage handbag studio shot
Mr. Zhou

“Gives clean catalog visuals while I still keep raw photos of serial tags and corners.”

Vintage bag reseller
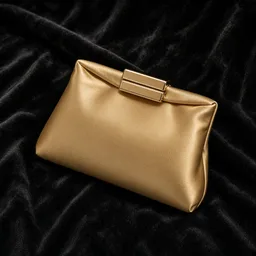
Unbranded clutch on dark background
Ms. He

“Dark background shots bring out the metallic sheen of our evening lock clasps.”

Clutch designer
Unbranded duffle bag collection
Mr. Huang

“Colorway collections match in angle and lighting, making our store catalog look uniform.”

Travel luggage brand owner

FAQ

AI Bag Product Photography Generator FAQ

Credits, shot types, angles, accuracy, and what generated bag photos can and cannot show.

It is an ecommerce tool that turns one photo of a bag into studio, lifestyle, on-model (no face) or flat-lay product photos for main and secondary listing images.

Upload a clear photo of the bag, choose a shot type, an angle and a background tone, add optional notes, and generate 1 to 4 images at a time.

Each image costs 10 credits, and you can generate 1 to 4 images at a time. New accounts get one free generation. You need to sign in to generate.

Totes, crossbodies, handbags, backpacks, clutches, duffels and wallets. Upload a sharp JPG, JPEG, PNG or WEBP photo up to 16MB with the whole bag, straps and hardware visible.

No. On-model shots are cropped from shoulder to leg so the focus stays on the bag and its size on the body. There is no option to upload your own model on this page.

The whole image is regenerated, so treat it as a visual preview. Check the shape, proportions, color, hardware color, stitching, strap length and logo placement. Open views may invent lining and pockets; compare them with the real bag.

The White Background tool focuses on a plain white main image. Virtual Try-On dresses a model in clothing. This tool is built for bags, with depth and open angles and strap-aware on-model shots.

They suit listing galleries, social posts and ads on Shopify, Amazon, Etsy, eBay, TikTok Shop and independent stores. Follow each marketplace’s rules for main and secondary images.

Yes. Before publishing, compare every detail with the real bag, state the real dimensions in your listing, and do not use images that suggest materials or features the bag does not have.

Click Keep editing without re-uploading, add a note such as keep the gold hardware exact or keep the strap length, try another angle or a lighter background, and generate again.

Ready to Make Your Bags Stand Out?

Upload one clear photo of your bag to start. 10 credits per image, and new accounts get one free generation. Choose a shot type and angle, and check every detail.

Start Free →

LLMs.txt