


30:00:00
50% OFFLimited Time Deal: Today only 50% OFF — miss it once, wait six monthsGet 50% Off

AI Jewelry Product Photography Generator

Upload one clear photo of the piece, choose a scene and generate. Compare every stone with the real piece.

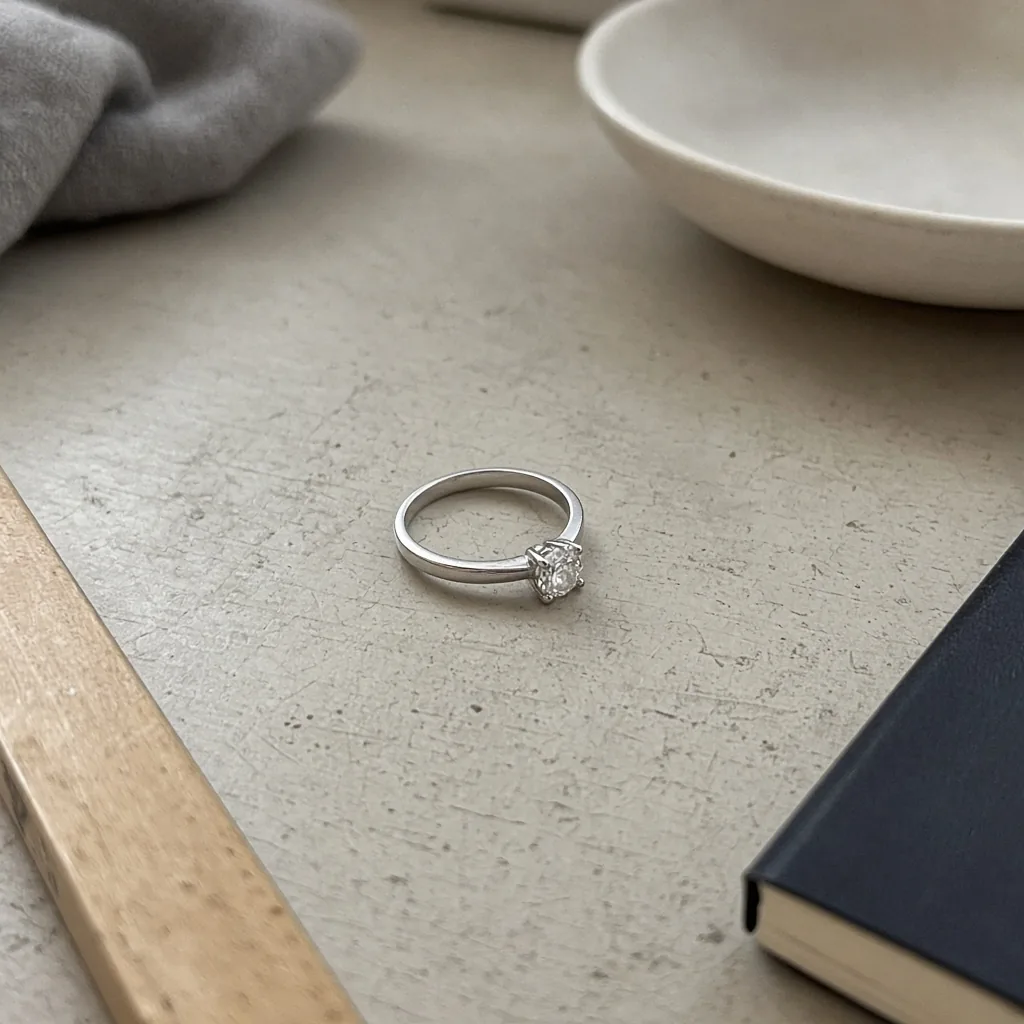
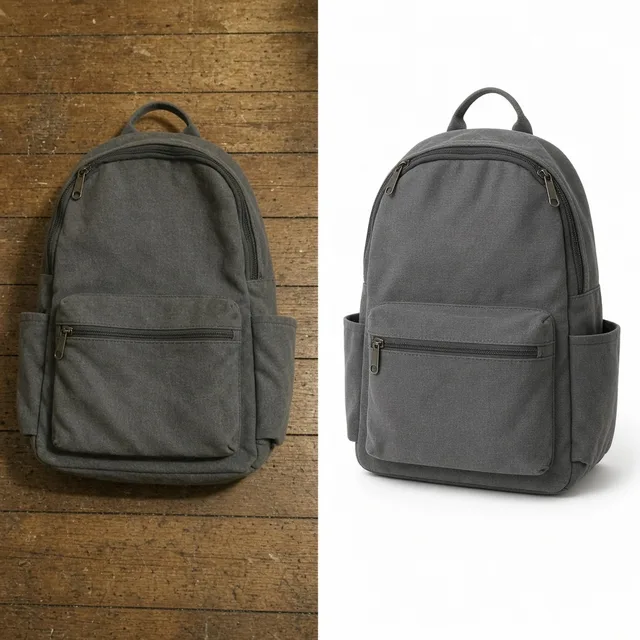
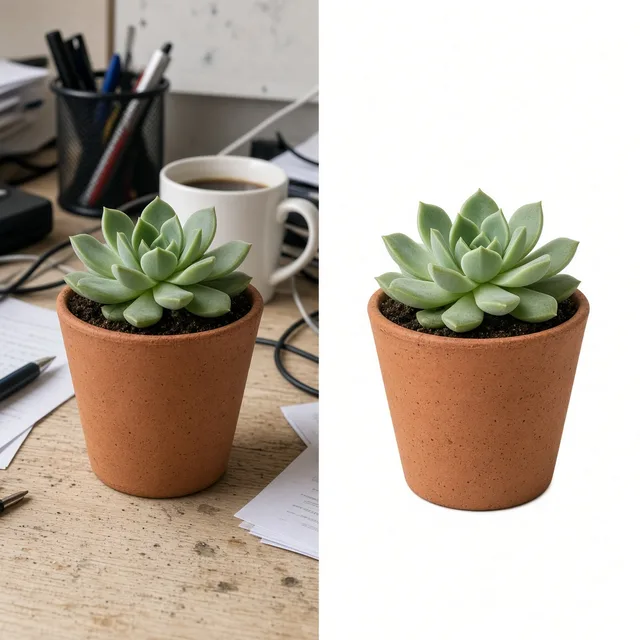
Unbranded solitaire ring photographed on a cluttered desk
Snapshot
The same ring on a clean white background with a soft shadow
Jewelry photo

Phone snapshot → clean white studio shot

Jewelry Tools

Shoot the Piece, Then Keep Going

After the AI jewelry product photography generator makes your studio shots, try them on a model, fix glare or resize with the tools below.

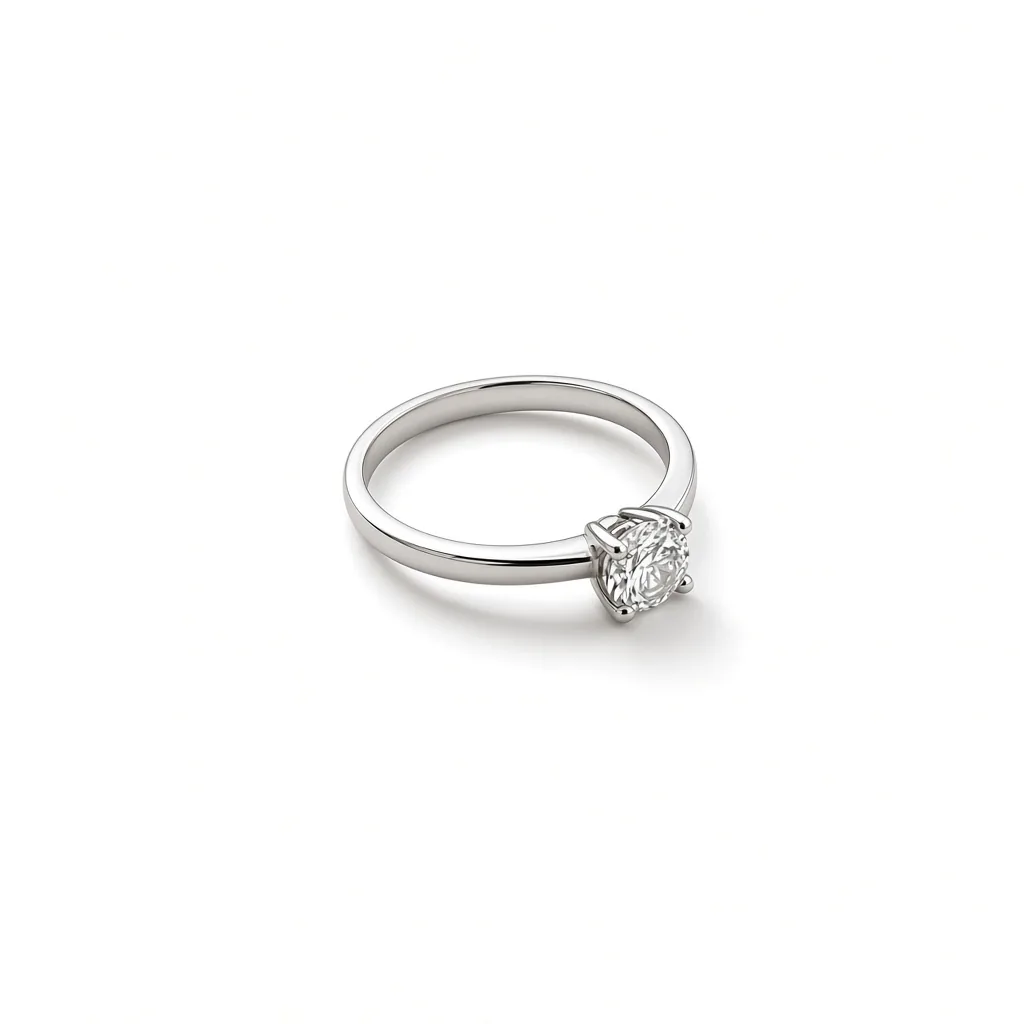
White Background
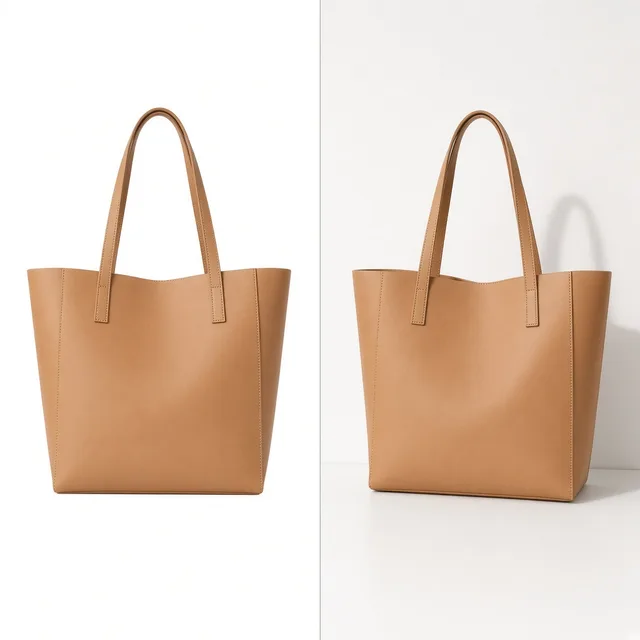
White BackgroundClean white listing photos in secondsTry it →
Lifestyle Scene
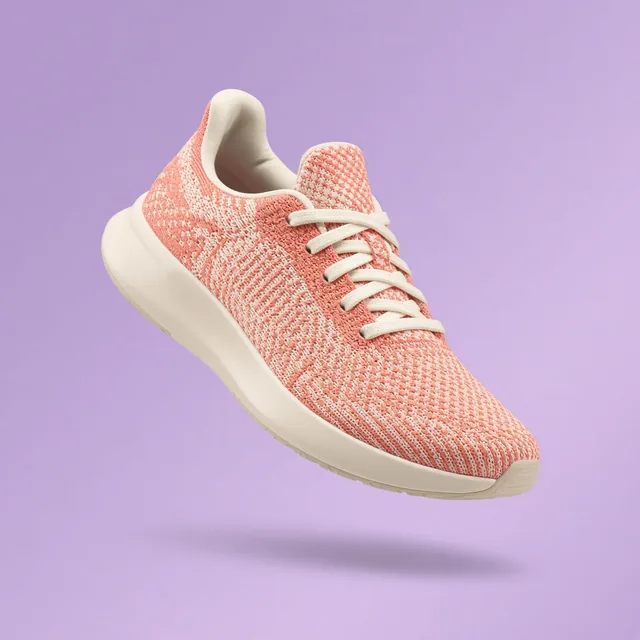
Lifestyle ScenePlace products in real-life scenesTry it →
Furniture Staging
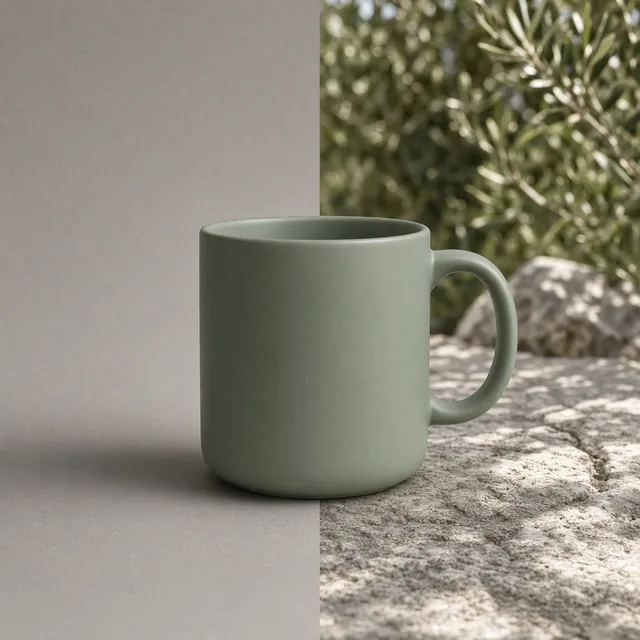
Furniture StagingPlace furniture and decor in real roomsTry it →
Black Background
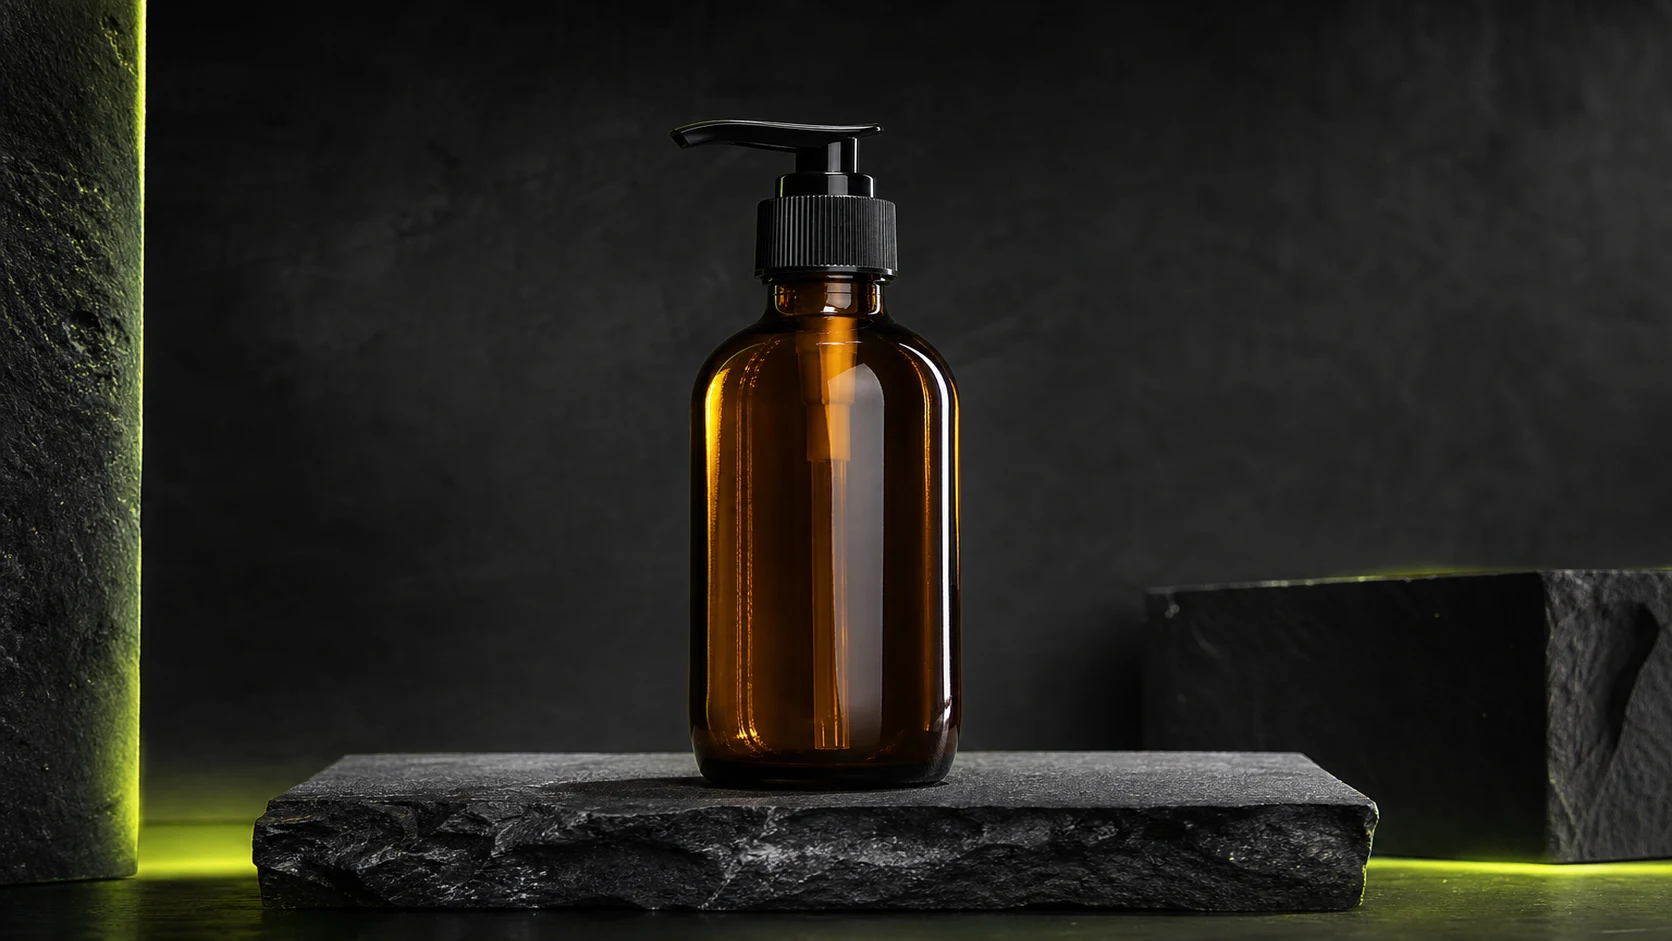
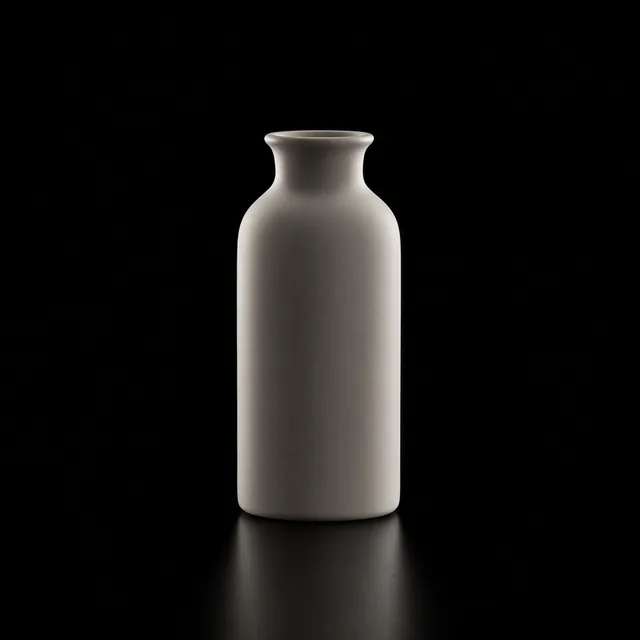
Black BackgroundPremium black and dark studio product shotsTry it →

What it is

What Is an AI Jewelry Product Photography Generator?

An AI jewelry product photography generator turns one photo of a piece of jewelry into a polished product photo.

How it works

You upload a ring, necklace, earring or bracelet, choose a scene (clean white, velvet display, stone and marble, natural props or dark luxury), an angle and how much sparkle you want, and the AI rebuilds the piece in that setting with controlled reflections and crisp focus.

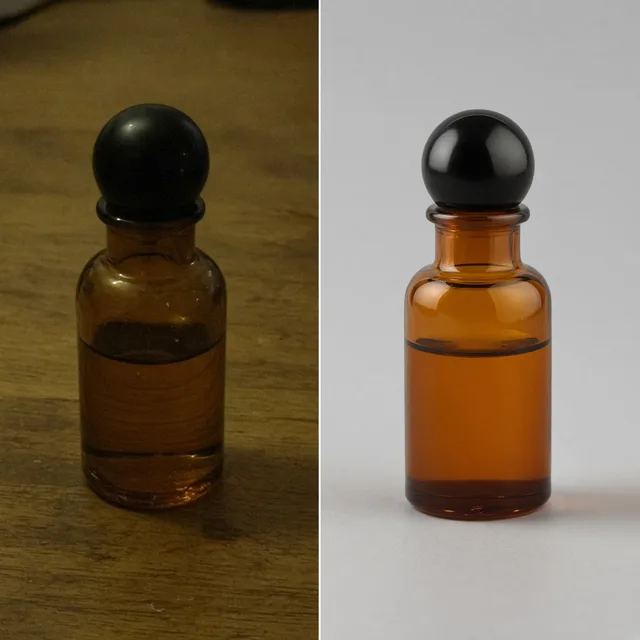
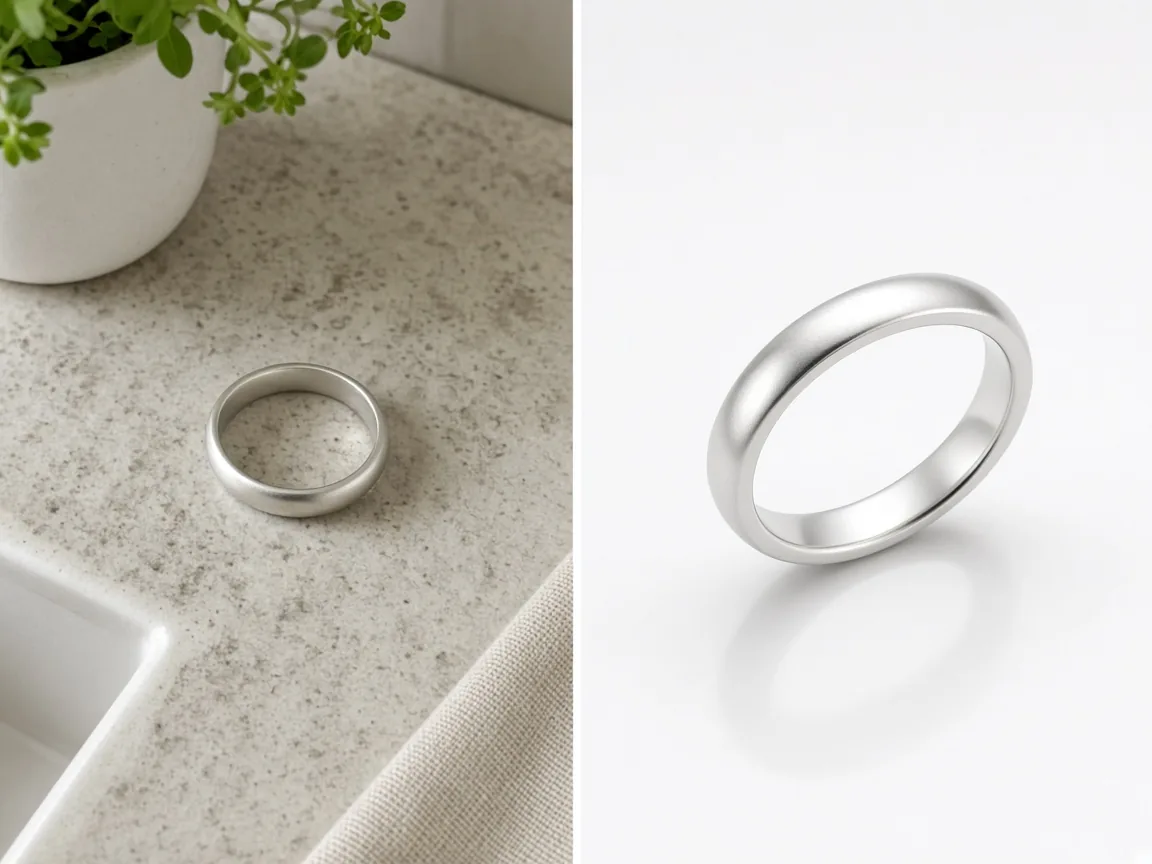
A phone snapshot of an unbranded ring next to the same ring in a clean studio photo

Credits and how it runs

On ProductShot AI, each image uses 10 credits, and you can generate 1 to 4 images at a time. New accounts get one free generation.

You sign in to generate, and results are saved to your history, so you can switch from white to marble or dark luxury later without re-uploading. The credits for each run are shown under the Generate button.
How to shoot the source photo

Your source photo decides most of the result. Shoot the piece in daylight near a window, on a plain surface, with the whole piece in frame and the main stone in focus. Avoid strong colored reflections from your room or phone.

A sharp phone photo is enough for the AI jewelry product photography generator; blurry or very dark photos lose stone details that cannot be recovered.

Which scene to choose

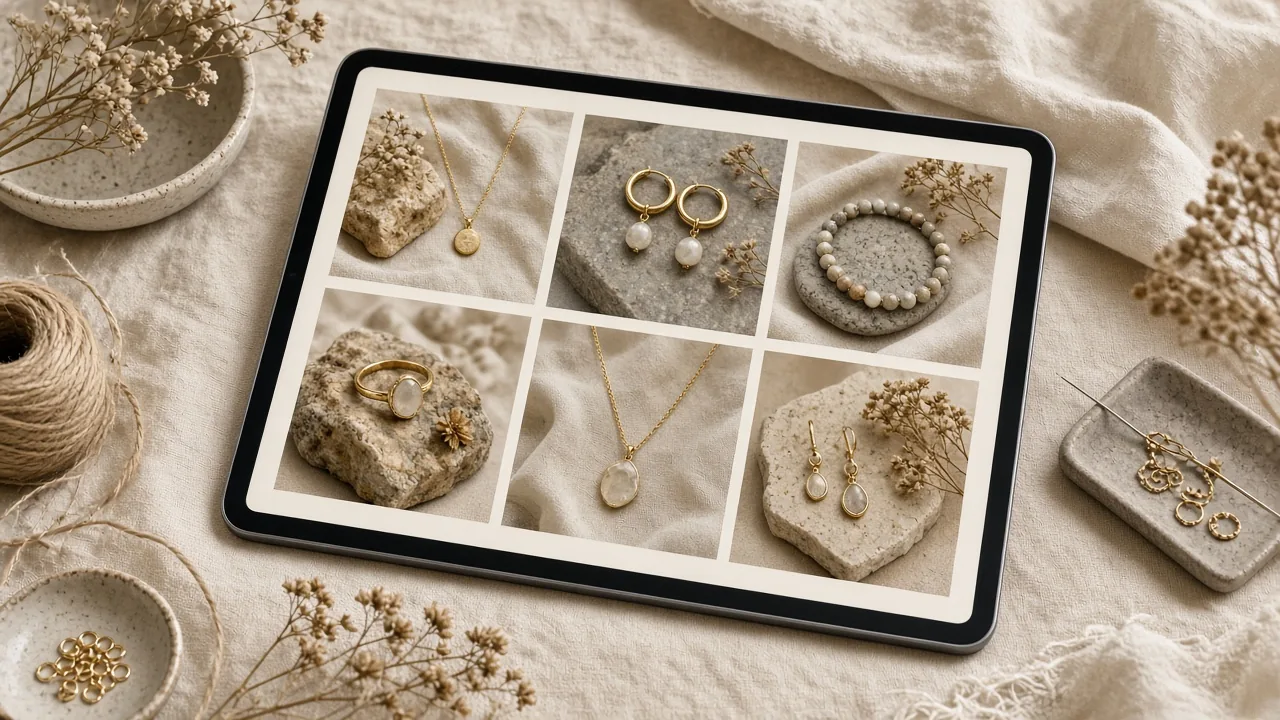
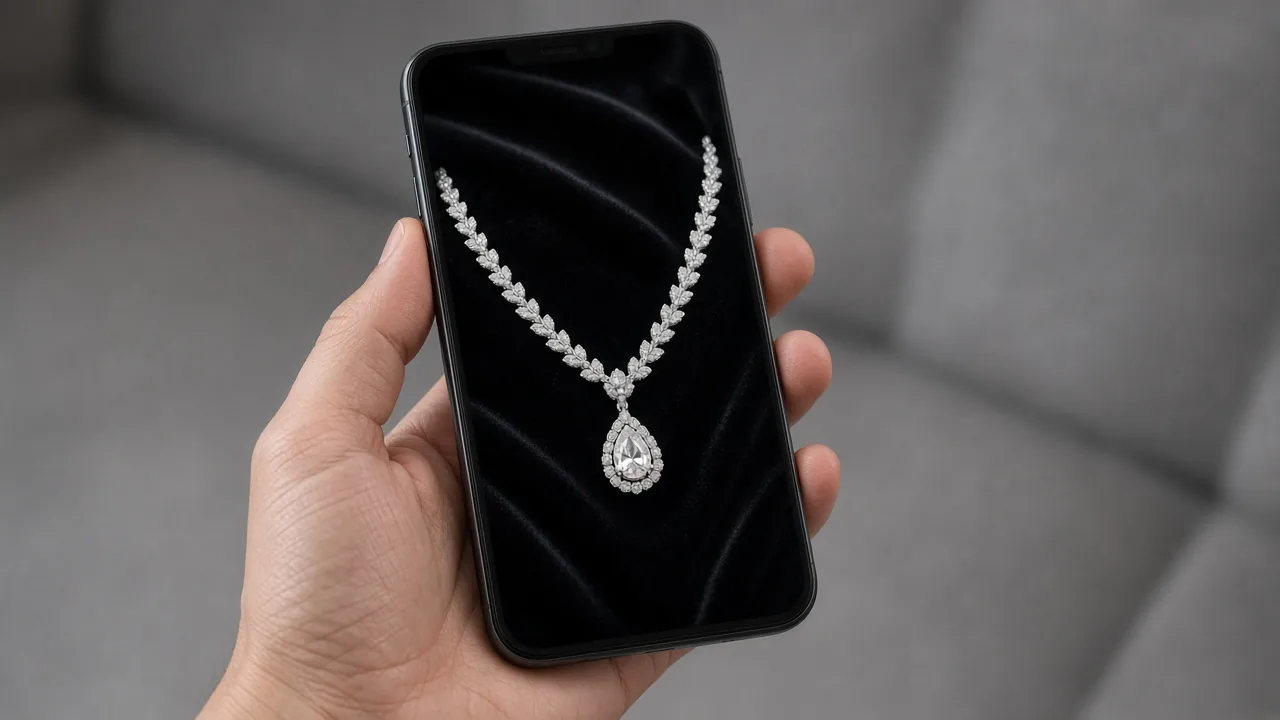
Each scene suits a different job. Clean white is for marketplace main images. Velvet display feels like a jewelry counter. Stone and marble fit modern minimalist brands. Natural props suit handmade and bohemian pieces. Dark luxury gives fine jewelry and gold a premium mood for ads and social posts.

The macro angle is for detail images of settings, clasps and engravings.

How it differs from try-on tools

It differs from the AI Ring Try-On and AI Earring Try-On, which put jewelry on a hand or a model, and from the AI Product Glare Remover, which fixes reflections in an existing photo. This page makes still-life product shots with no people.

A common set: a white main image and a macro detail from this page, then a try-on image to show scale.

How to check a jewelry photo

To check a jewelry photo, look at four things in order. First the metal: same color and finish (yellow, white or rose gold, silver, matte or polished). Then the stones: same shape, color and count.

Then the design: setting, prongs, chain links, clasp and engraving unchanged. Finally the size: the piece should not look larger or chunkier than it is.

When to take extra care

Some cases need extra care. Do not use generated photos to suggest certifications, carat weights or materials the piece does not have. For fine jewelry with certified diamonds, keep at least one real photo or video in the listing.

And always follow each marketplace’s image rules, such as pure white main images and no added props where they are required.

Five scenes

White, velvet, stone, natural, dark.

Three angles

Hero, top-down or macro.

Controlled sparkle

Natural or brilliant.

Details kept

Metal, stones and engraving.

Compare versions

Generate 1 to 4 next to the original.

Clear pricing

10 credits per image, shown under the Generate button.
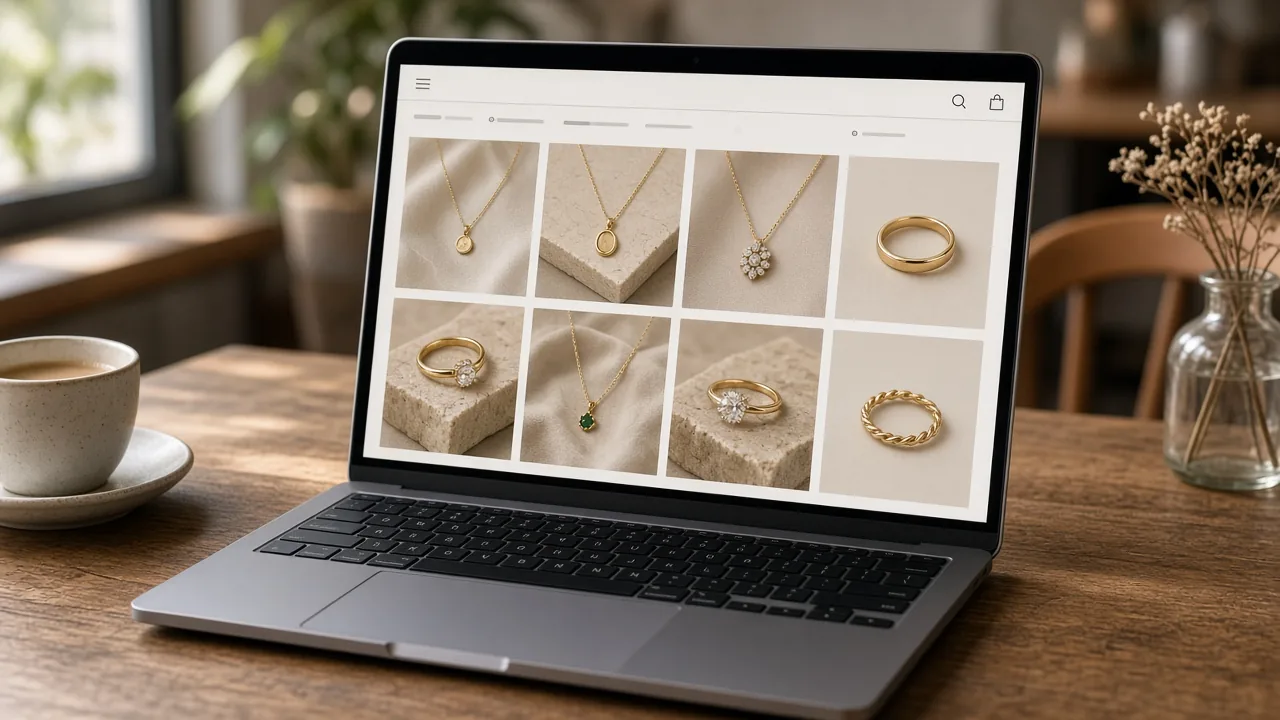
Why ProductShot AI

Built for Small, Shiny, Detailed Pieces

Every setting is tuned for metal, stones and tiny details.

Stones stay true

The brief keeps stone shape, color and count.

Accurate metal

Gold, silver and rose gold tones are kept.

Controlled light

Crisp highlights without fake star filters.

Images used for your run

Uploaded images are used to generate your result.

Common notes in one click

Metal color, engraving, no props and more.

Honest about limits

Compare every stone with the real piece.

Use Cases

Five Times Jewelry Sellers Need Better Photos

Small pieces, shiny metal and tiny stones make jewelry the hardest product to shoot.

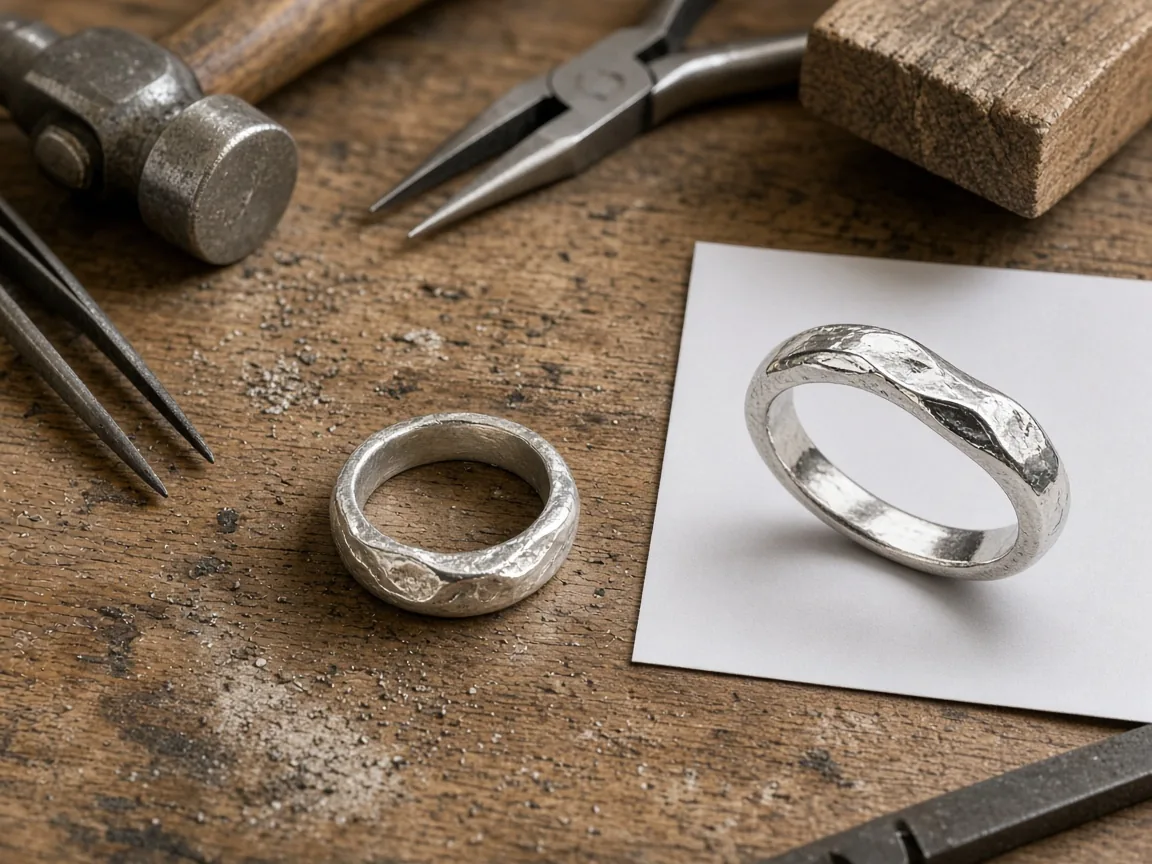
Handmade unbranded silver ring on a workbench next to its clean studio photo

Handmade Shops

Turn workbench snapshots into clean product photos.

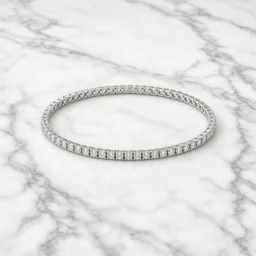
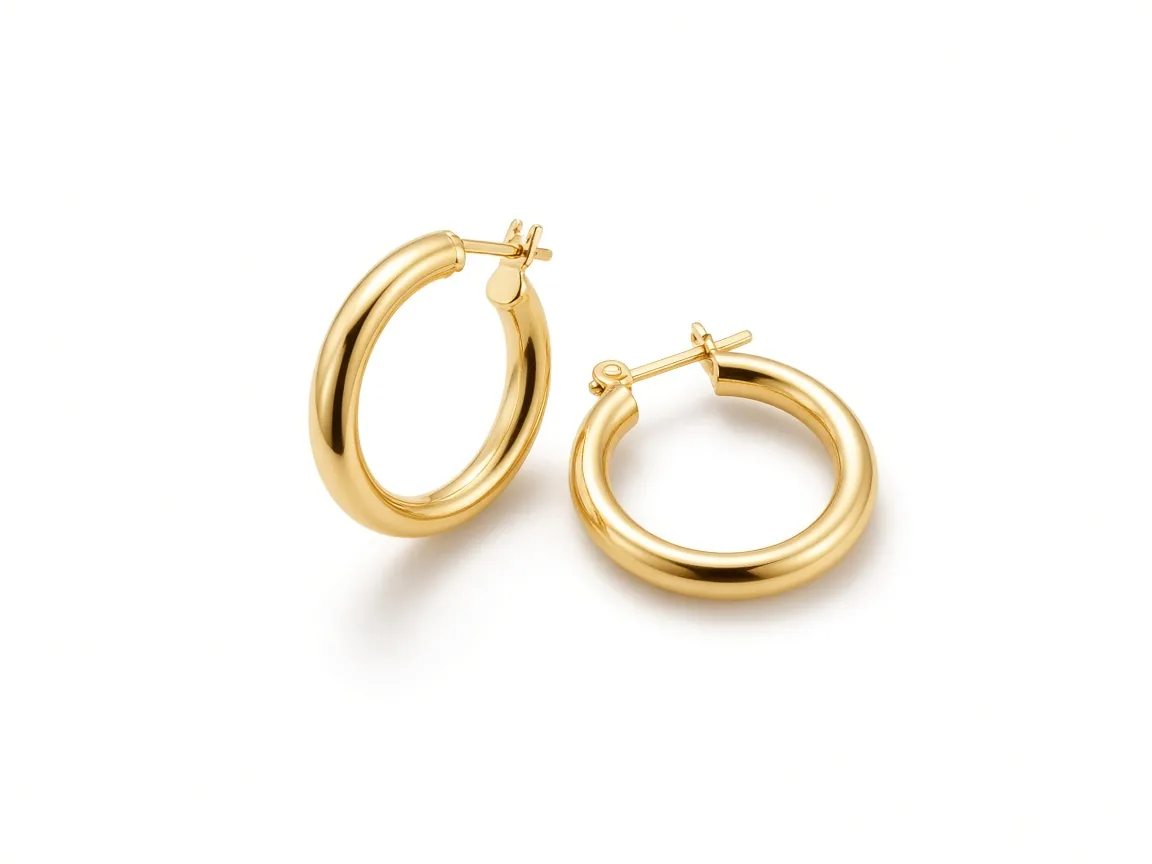
Unbranded gold hoop earrings on a pure white background

White Main Images

Pure white backgrounds for marketplace listings.

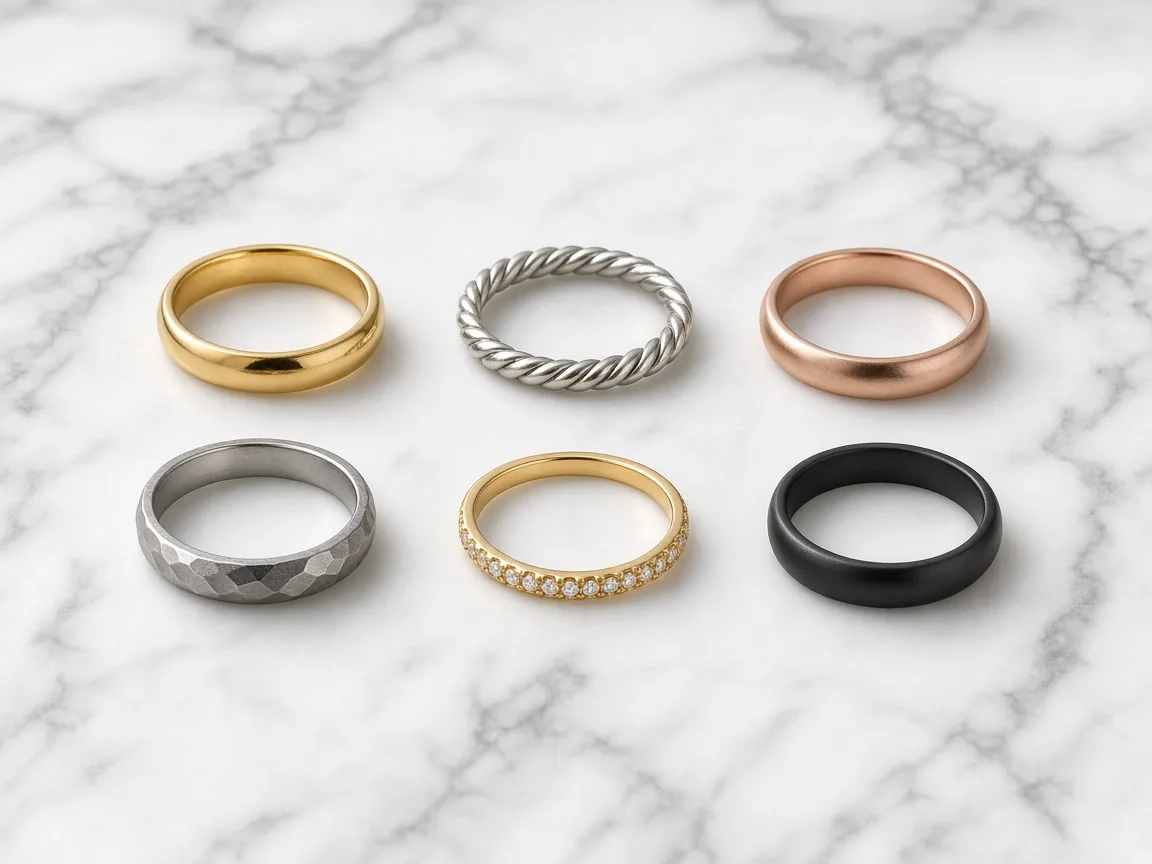
Grid of unbranded rings photographed in the same marble scene

New Collections

A consistent look for every piece in a launch.

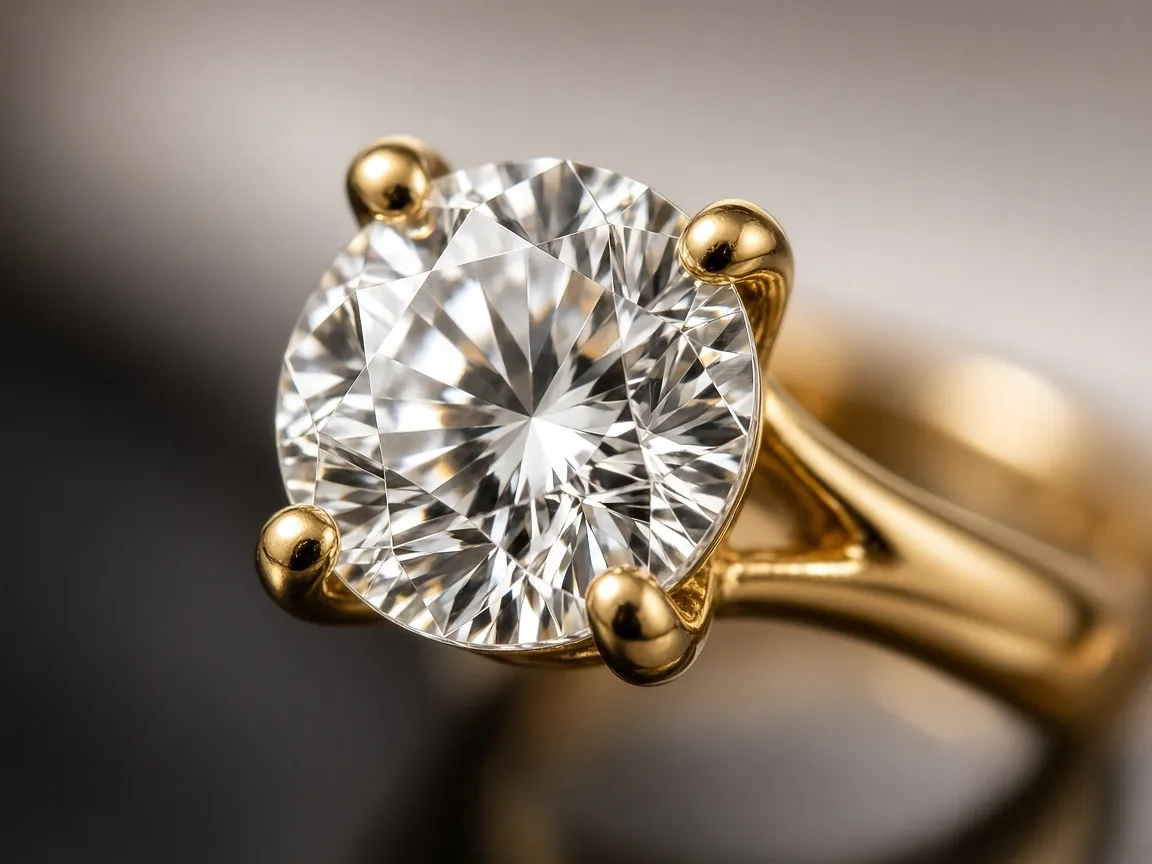
Macro close-up of an unbranded ring’s prong setting

Detail Shots

Macro views of settings, clasps and engravings.

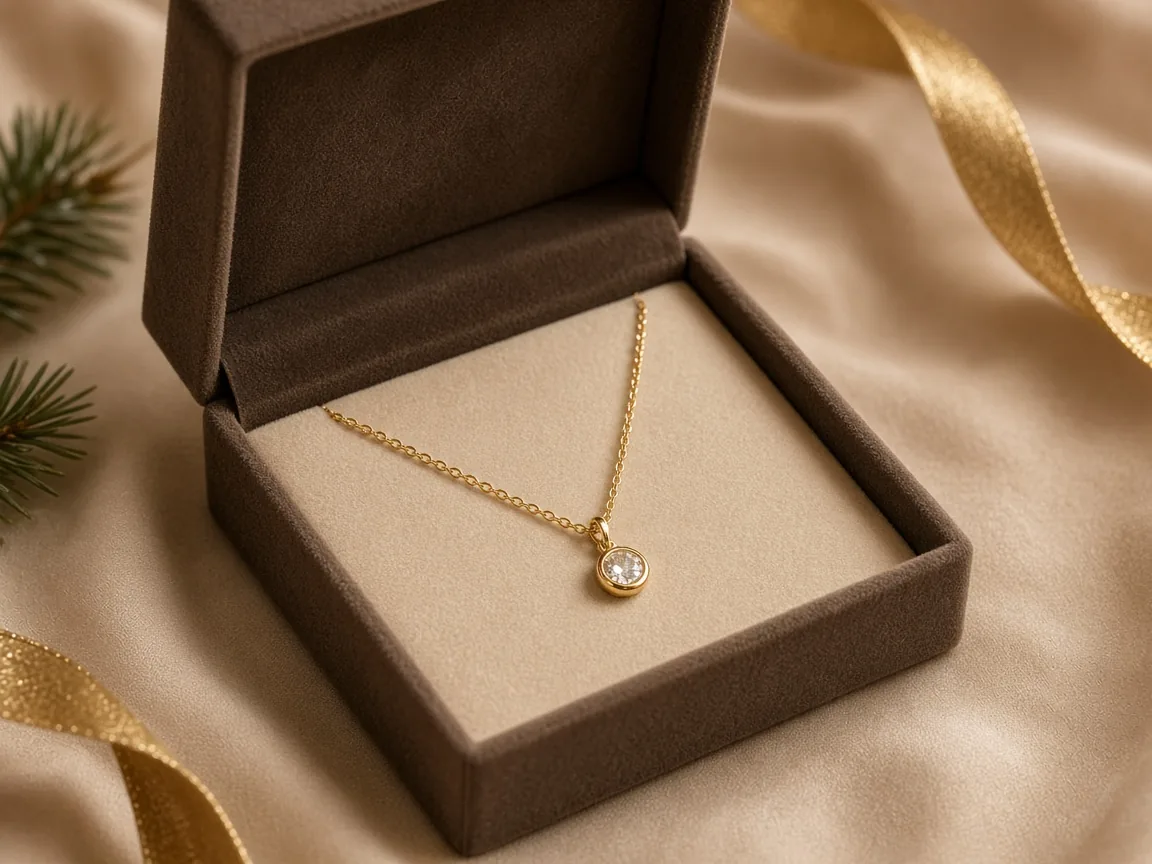
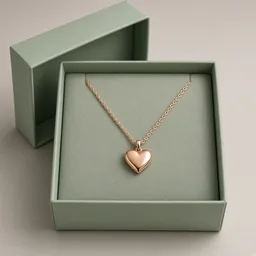
Unbranded necklace in an open gift box with soft warm light

Gift Season

Warm, giftable scenes for holidays and anniversaries.

By Channel

Where Jewelry Photos Get Used

Marketplaces, online stores, social posts and handmade shops each need a different look.

How it works

Make Jewelry Product Photos With AI in 4 Steps

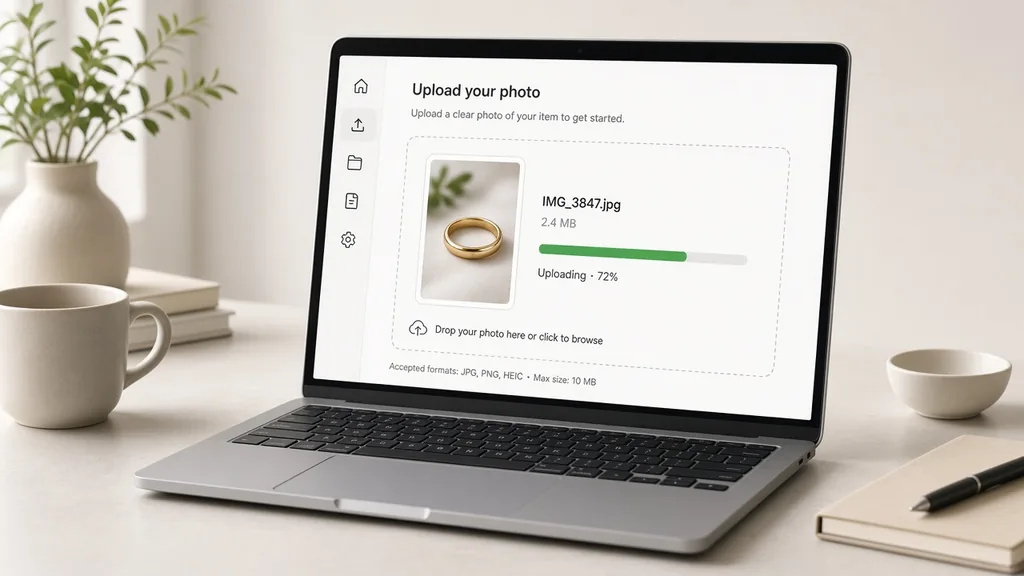
Upload one clear photo of the piece, then choose the scene.

Laptop with a phone photo of a ring open in an upload window
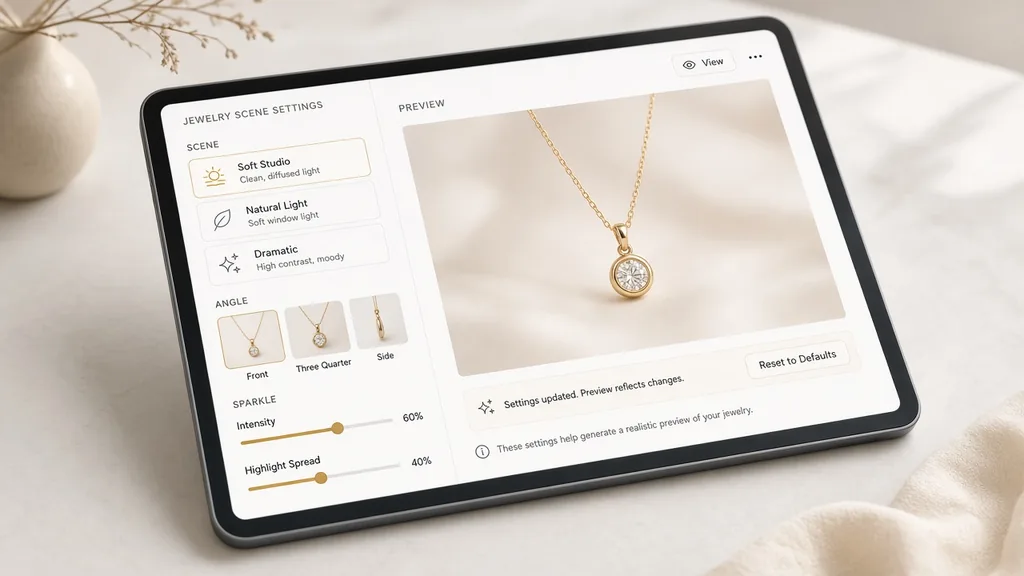
Tablet showing scene, angle and sparkle options for jewelry
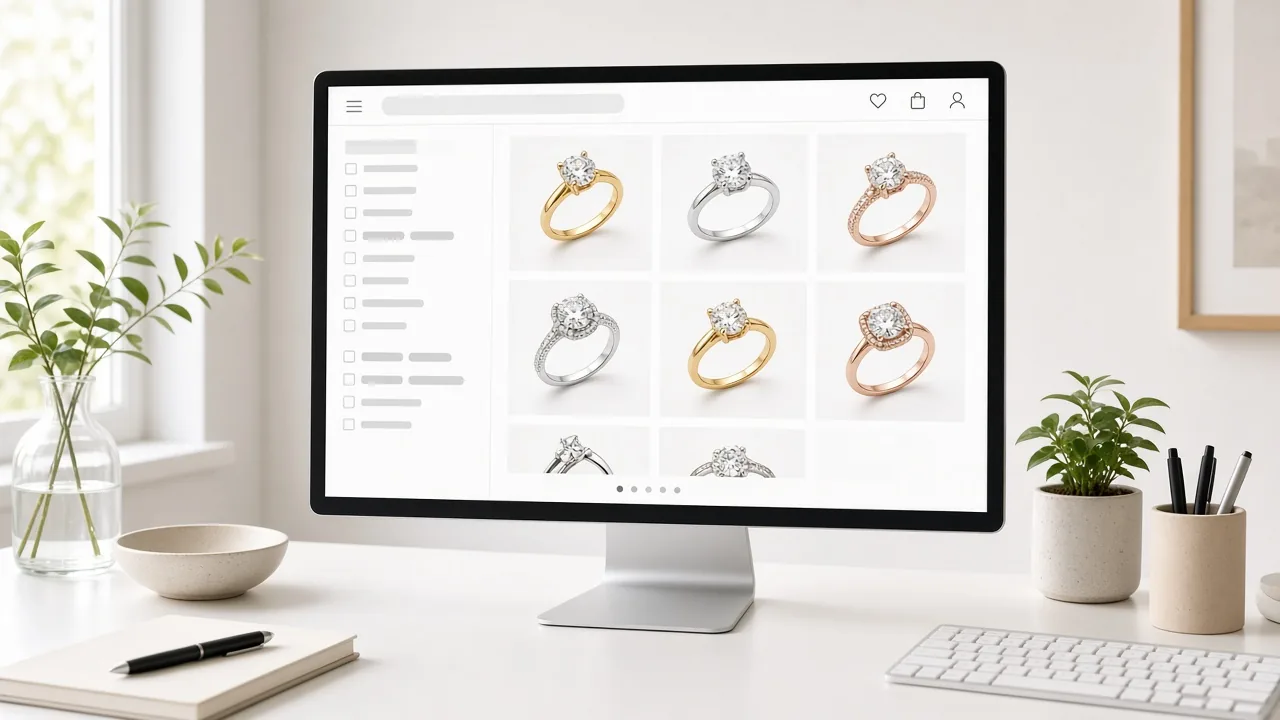
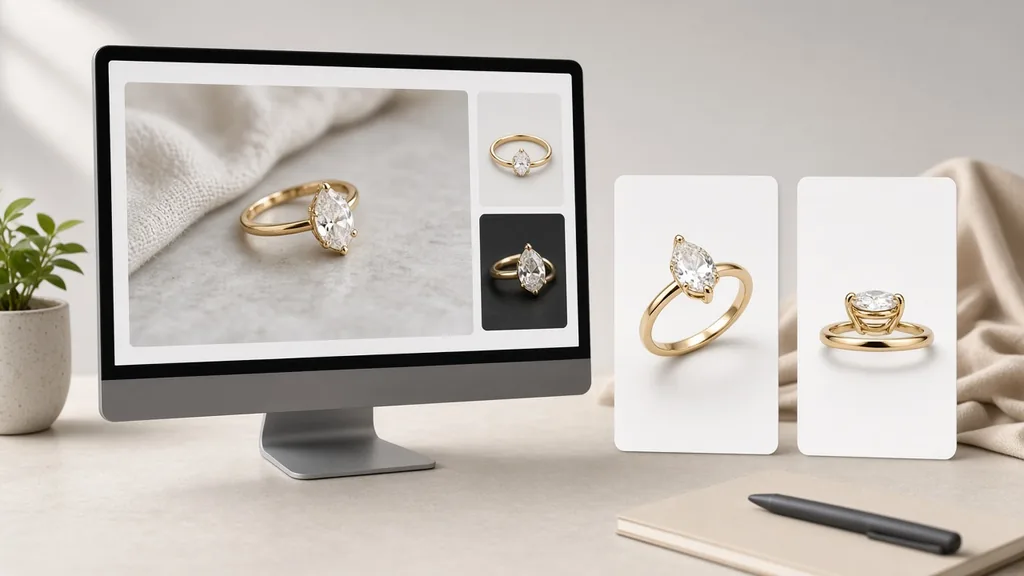
Monitor showing the snapshot next to two studio jewelry photos
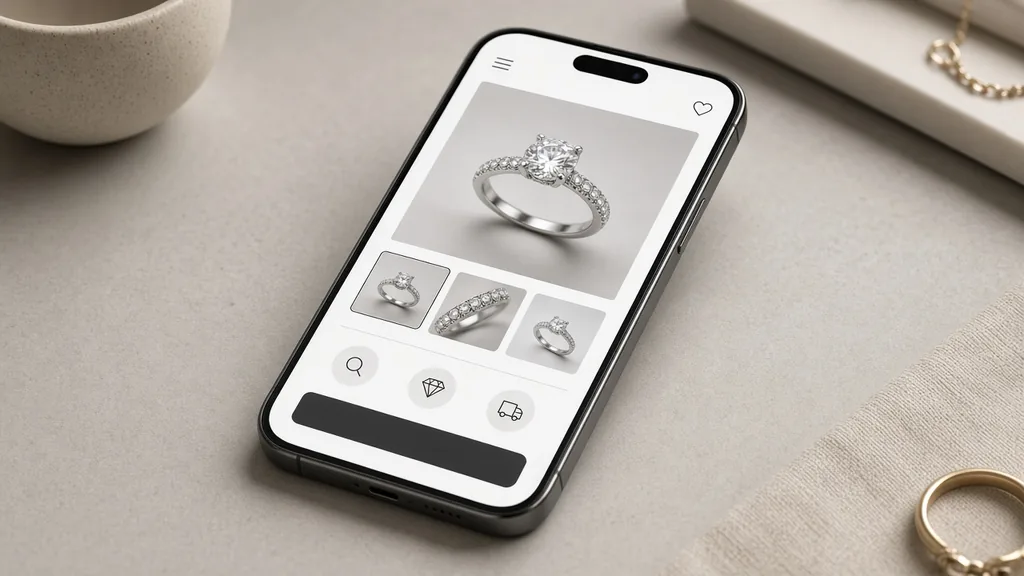
Phone showing a jewelry listing with the new photos
01

Upload the Piece

Upload one sharp photo of the ring, necklace, earring or bracelet, JPG, PNG or WEBP up to 16MB. A phone photo in daylight works.

02

Choose Scene and Angle

Pick clean white, velvet, stone, natural props or dark luxury, then the angle and how much sparkle.

03

Generate and Compare

Generate 1 to 4 versions at 10 credits each and compare each stone with your photo.

04

Check and Publish

Check metal color, stones and engraving, then download for your listing.

Method comparison

AI Jewelry Photography vs a Jewelry Photo Studio

Three ways to get jewelry product photos.

Multiple

output styles

Reference-led

direction

Built-in

before-and-after review

Traditional Workflow

Book a Jewelry Photo Studio

Ship samples, book macro lenses and lighting, wait for retouching.

Cost
Studio fee per piece plus retouching×
Turnaround
Days to weeks including shipping×
What You Need
Samples, macro lens, lighting×
Iteration
A reshoot for each new look×
Output Range
One setup per session×
Product Accuracy
Exact to the real piece×
ProductShot AI

AI Jewelry Product Photography

Upload one clear photo, choose a scene and generate.

Cost
10 credits per image; new accounts get one free generation✓
Turnaround
Results appear on the page when generation finishes✓
What You Need
One clear photo of the piece✓
Iteration
Change the scene or notes and generate again✓
Output Range
Five scenes and three angles✓
Product Accuracy
Generated; compare every stone and prong✓

Tips

Three Ways to Get Better Jewelry Photos

Your photo and the scene decide most of the result.

Shoot the source photo

  • Shoot in daylight on a plain surface.
  • Keep the main stone in sharp focus.
  • Show the whole piece, chain included.
  • Wipe off dust and fingerprints first.

Write the notes

Metal + stones + mood

Notes can cover these three things:

  • Keep the rose gold tone exact.
  • Keep all seven small stones on the band.
  • Soft morning light, a few dried flowers.

Avoid these mistakes

  • Do not upload blurry or very dark photos.
  • Do not publish without comparing every stone.
  • Do not imply certifications or materials you do not have.
  • Do not ignore each marketplace’s image rules.

Further reading

Articles on jewelry photos, try-on images and listings.

Product Image Clarity for Listings: Fix Soft Supplier and Marketplace PhotosWorkflow
Jul 15, 202610 min read

Product Image Clarity for Listings: Fix Soft Supplier and Marketplace Photos

How ecommerce teams prep soft supplier packs and re-exported marketplace images with free browser clarity enhancement before Amazon and Shopify uploads.

Read Article
It Took Me Two Years to Understand Product Photography LightingLighting
Jun 20, 20268 min read

It Took Me Two Years to Understand Product Photography Lighting

A practical guide to product photography lighting, soft light, fill light, backlight, reflection control, and difficult materials.

Read Article
How to Take Professional Product Shots Without a Studio (or a Degree in Photography)Workflow
Jun 17, 20268 min read

How to Take Professional Product Shots Without a Studio (or a Degree in Photography)

A practical workflow for taking sellable ecommerce product photos with a phone, simple setup, and AI-powered variations.

Read Article
Best AI Lifestyle Photo Generators for Product and Model Shots (2026)Workflow
Jun 23, 20268 min read

Best AI Lifestyle Photo Generators for Product and Model Shots (2026)

Compare AI lifestyle photo generators for realistic ecommerce scenes, product preservation, catalog consistency, and campaign workflows.

Read Article
AI Product Photography Generator Guide: 7 Best Tools for 2026Guide
Jun 23, 20268 min read

AI Product Photography Generator Guide: 7 Best Tools for 2026

Compare AI product photography generators for white background images, studio shots, lifestyle scenes, and ecommerce campaign visuals.

Read Article
The Real Problem With White Background Product Photos (And How I Solved It)White Background
Jun 18, 20268 min read

The Real Problem With White Background Product Photos (And How I Solved It)

Learn why white background product photos are harder than they look, how platform rules differ, and how to preserve details.

Read Article
Reviews

How Sellers Use the AI Jewelry Product Photography Generator

Feedback from some of our users. Thumbnails show products from their categories.

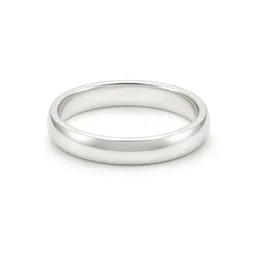
Silver ring on white
Ms. Wang

“Workbench photos became clean white listings. I check every prong before publishing.”

Handmade silver
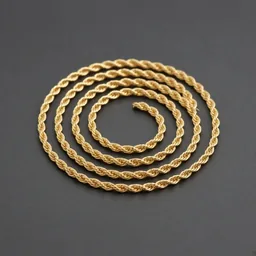
Gold chain on charcoal
Mr. Li

“Dark luxury shots for our gold chains look like a studio did them.”

Gold jewelry store
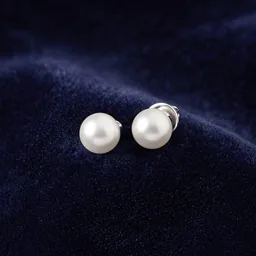
Pearl earrings on velvet
Ms. Zhang

“Velvet display photos for twenty pairs. Once a pearl came out larger, so I regenerated.”

Pearl earrings
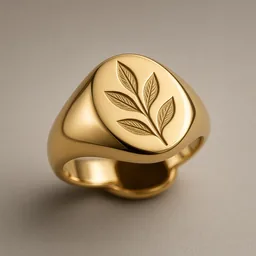
Engraved ring macro
Mr. Chen

“Macro shots of the engraving help buyers trust the detail.”

Men’s rings
Bracelet on marble
Ms. Liu

“Marble scenes for the whole collection, all in the same light.”

Bracelet brand
Necklace in a gift box
Ms. Zhou

“Gift-box scenes for holidays without booking a shoot.”

Gift shop

FAQ

AI Jewelry Product Photography FAQ

Credits, scenes, accuracy and marketplace rules.

Each image uses 10 credits, and you can generate 1 to 4 images at a time. New accounts get one free generation.

Rings, necklaces, pendants, earrings, bracelets and anklets. Upload one piece or a matching set per photo.

Yes, if it is sharp, taken in daylight and shows the whole piece with the main stone in focus.

They are asked to stay identical, but the whole image is regenerated, so small details can drift. Compare every stone and prong with the real piece.

Clean white, velvet display, stone and marble, natural props and dark luxury.

Yes, choose Clean white. Then check the marketplace’s own rules for main images.

Yes, choose the Macro detail angle for settings, clasps and engravings.

This page makes still-life shots. Use the AI Ring Try-On or AI Earring Try-On for jewelry on a hand or model.

No text is added. Never use generated photos to imply weights, materials or certifications the piece does not have.

In your history. Change the scene or notes and generate again without re-uploading.

Ready to Make Your Jewelry Shine?

Upload one clear photo of your piece to start. 10 credits per image, and new accounts get one free generation. Choose a scene, compare versions and check every stone.

Start Free →