If you run an apparel e-commerce business, chances are you've tried using AI virtual try-on tools to generate model on-figure shots. But when starting out, m…
If you run an apparel e-commerce business, chances are you've tried using AI virtual try-on tools to generate model on-figure shots. But when starting out, many sellers run into frustrating issues: clothes looking flat and stiff like paper cutouts, collar edges blurring into dark smudges, graphic prints losing corners, or waistlines clipping directly into the top. When faced with these awkward results, the immediate reaction is often to blame the AI tool.
However, speak to experienced apparel e-commerce operators and they'll tell you: AI virtual try-on results are "70% input photo quality and 30% algorithm fitting." Put simply, the cleaner and more standardized your base model photo and garment photo are, the more accurately the algorithm can capture body posture and clothing details—leading to significantly more realistic, natural-looking try-on visuals.
Why must apparel sellers care so much about input photo standards? It directly ties into the broader e-commerce return crisis. According to industry data from Coresight Research, the average return rate for online apparel orders in the US reaches a staggering 24.4%. Among all return reasons, "size and fit issues" ranks first at 53%, followed by "color and visual discrepancies" at 16%. Research from eMarketer on return causes confirms this trend. Many shoppers return items not because of product defects, but because the delivered product failed to match the visual expectations set by product imagery. By standardizing photo shooting and selection to boost the visual accuracy of AI-generated try-on images, sellers can substantially reduce return headaches caused by visual mismatch.
Important Disclaimer & Usage Notice:
When using ProductShot AI's virtual try-on features, please keep in mind: AI virtual try-on images are intended solely for visual styling and outfit pairing references. They should not be used as a basis for physical size, body measurement, or garment pattern sizing. Whether a garment actually fits a consumer still depends on the physical size chart provided on the product detail page.
1. Model Photo (Base Image) Shooting & Selection Guidelines
The base photo acts as the "virtual mannequin" for the algorithm. AI must first understand the model's body pose, contours, and the position of their original outfit before seamlessly overlaying the new garment.
1. Maintain a Stable Pose & Avoid Limb Obstructions
- Recommended Poses: The ideal pose is standing straight naturally, or turned slightly at a 15° to 30° angle. Arms should hang naturally by the sides with a slight gap between the arms and thighs. This allows the AI to accurately identify the underarms, waistline, and hem boundaries, ensuring sleeves and hems align correctly.
- Poses to Avoid:
- Never cover the waistline or chest: Poses with arms crossed over the chest, hands in pockets, hands on waist, or hands covering the stomach are strictly off-limits. If limbs obstruct the body, AI cannot distinguish where the garment ends and the body begins.
- Avoid dynamic or extreme movements: Bending over, squatting, raising arms high, or yoga poses. Extreme stretching causes severe distortion when fitting clothing.
- Avoid back views and extreme side angles: Unless you are specifically showcasing a back design, a back view loses all front-facing styling details.
2. Follow Google's Official Shopping Platform Full-Body Photo Standards
When optimizing AI try-on inputs, we can look to standards set by leading e-commerce platforms. For instance, the Google Shopping AI Virtual Try-On Help Center explicitly notes that the platform relies heavily on high-definition full-body photos to showcase realistic fabric drape and creases on models. The Google Official Tech Blog also emphasizes the importance of visual wrinkle rendering.
- Maintain an eye-level camera perspective: Position the camera lens level with the model's waist. High-angle or low-angle shots distort body proportions, making the synthesized garment look unnaturally stretched.
- Ensure full-body completeness: Show the model complete from head to toe whenever possible, avoiding cuts at the knees or thighs.
3. Hair, Accessories, and Base Clothing Requirements
- Tie long hair up or keep it behind the back: If trying on tops or dresses, loose hair falling over the chest causes the AI segmentation algorithm to confuse hair strands with the collar, leaving messy artifacts or dark edges.
- Remove large accessories and bags: Remove chunky necklaces, heavy scarves, and crossbody bags when shooting base photos. Bag straps across the chest will be mistaken by AI as part of the garment's design.
- Wear form-fitting base clothing: The model in the base photo should ideally wear a tight, solid-color T-shirt, tank top, and fitted pants/leggings. If the model wears a bulky puffer jacket, the AI cannot detect their true body contour.
4. Lighting & Background Requirements
- Use soft, diffuse lighting: Opt for smooth natural light or studio lighting. Avoid harsh overhead lighting, which creates dark shadows across the chest and face. Hard shadows make newly generated garments look muddy or dirty.
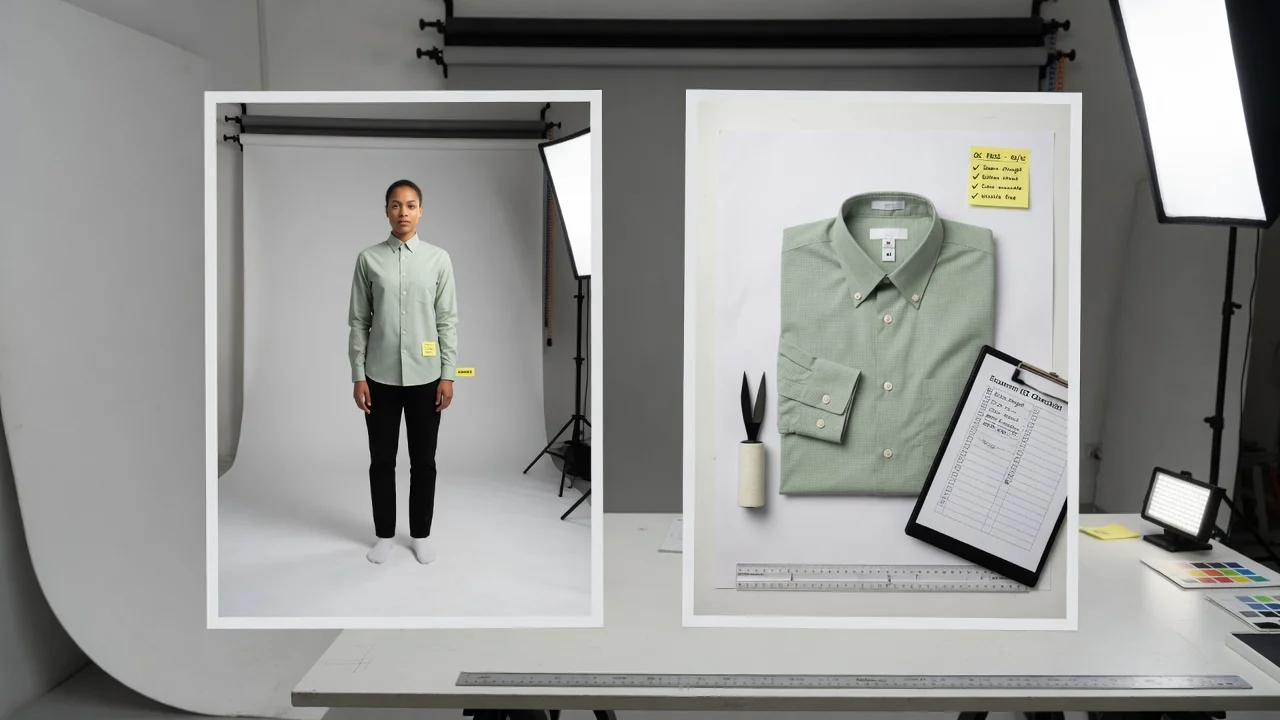
- Keep the background clean: Shoot against solid-color walls (white or light grey) or a clean indoor background. A clean background yields smoother AI subject cutout edges.
2. Garment Photo Guidelines & Protecting "Garment Locking"
The garment image is the main hero image that AI needs to extract and apply to the model. ProductShot AI uses Garment Locking technology to preserve the original garment's color, fabric texture, prints, logos, and small tags as faithfully as possible. To get the best out of Garment Locking, shoot your clothing as follows:
1. Three Main Shooting Methods for Garment Source Photos
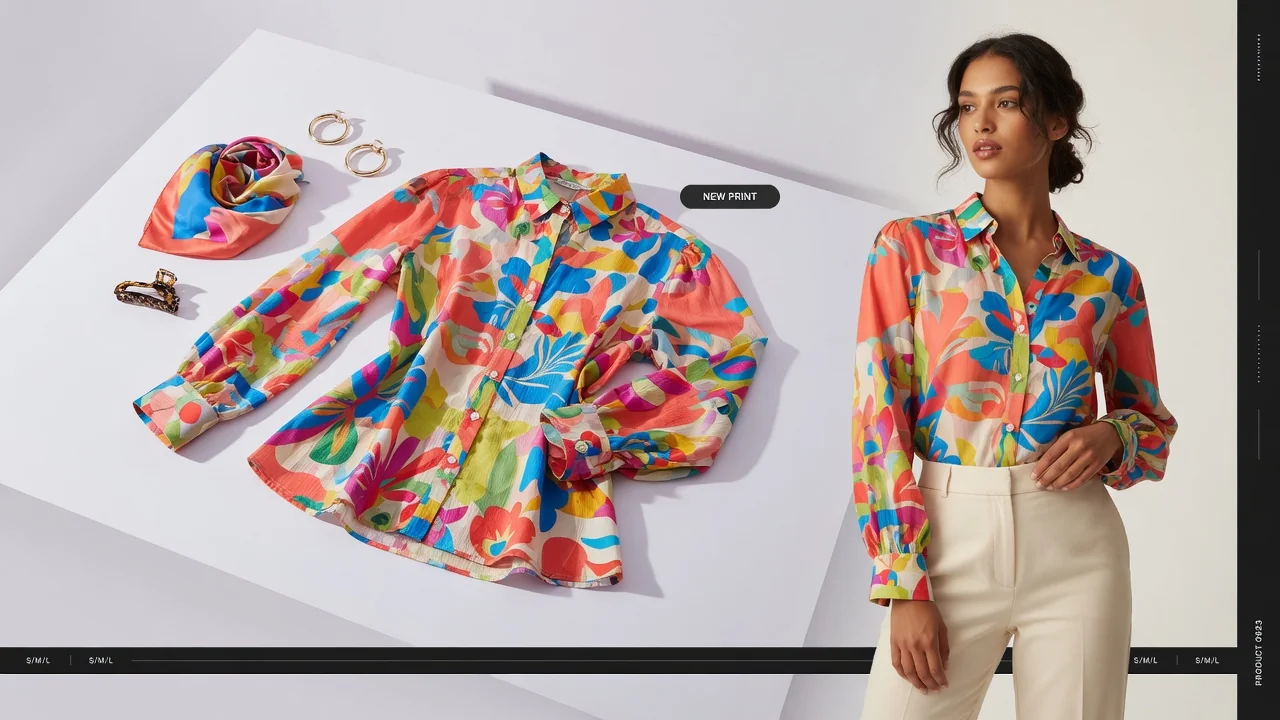
- Flat Lay: Lay the garment flat on a shooting table. Smooth out the sleeves, neckline, and hem to prevent overlapping fabric creases.
- Ghost Mannequin / Hanging: Use a ghost mannequin or hanger. Ghost mannequin shots provide natural 3D structure, ideal for tailored clothing like suits, trench coats, and coats that require structure.
- On-Model Crop (Existing Model Shots): Crop the garment from existing street or studio photos. Ensure the clothing is fully visible without blockage from hands, hair, or accessories.
2. Key Details to Protect Garment Locking
- Keep prints and logos flat and visible: Patterns, text, and brand logos must be laid out flat without getting hidden in fabric folds.
- Hide or crop paper hangtags: When shooting flat lays, sellers often place paper hangtags near the collar. AI might mistake text on the tag for a graphic print on the shirt. Fold tags behind the garment or crop them out before uploading.
- Steam out wrinkles before shooting: Use a garment steamer before photography. Existing wrinkles on the clothing will be copied directly onto the new model, or misread as built-in fabric texture.
3. Color Control & Background Contrast
- Use 5500K standard white light: Shoot garments under neutral white light or standard color temperature. Avoid warm yellow light, which causes severe color shifts. Yellow tinting easily triggers the 16% "color discrepancy" return risk noted in Coresight statistics.
- Ensure high contrast with the background: The background must contrast sharply with the garment. Use dark grey backgrounds for white garments and white backgrounds for black garments. Matching a white shirt with a white background causes AI cutout algorithms to cut away clothing edges.
3. High-Frequency Failure Cases & Troubleshooting Guide
To help operation teams easily troubleshoot daily workflows, we've compiled a list of common failure cases and solutions:
| Failure Symptom | Root Cause Analysis | Troubleshooting & Solution |
|---|---|---|
| Blurry collar edges / messy dark shadows | Long hair scattered over model's chest; or model wearing chunky necklaces/scarves in base photo interfering with collar segmentation. | Tie hair back or pin it behind the shoulders; remove neck accessories when shooting base photos. |
| Incomplete prints / distorted text | Print folded inside creases during flat lay; or camera angled shots creating perspective distortion on prints. | Steam flat before shooting; flatten print areas completely; shoot directly overhead at a 90° angle. |
| Clipping at waist/hem or misalignment | Model putting hands in pockets or crossing arms in base photo, obstructing waist and hem contours. | Reshoot base photo with arms hanging naturally slightly away from the torso. |
| Muddy colors / severe color cast after generation | Garment photo taken under warm yellow lighting; or base model photo has harsh overhead shadows. | Shoot garment under 5500K standard white light; use soft, diffuse lighting for base model photos. |
| Unexpected text or box artifacts on chest | Paper hangtag placed on collar or chest during flat lay, misidentified by algorithm as a print pattern. | Fold hangtag behind garment during shooting, or crop out hangtag area before uploading. |
| Stretched cuffs and side seams | Applying long sleeves/pants to a base photo where the model is bending arms sharply or squatting. | Use a static, straight-standing model base photo with a stable posture. |
4. Fine-Tuning & Toolchain Integration in Daily Operations
Beyond basic guidelines, here are several practical tricks to enhance output quality during daily workflows:
1. Pre-processing: Clean Up Busy Backgrounds
If base model or garment photo backgrounds are overly complex, consider using a Free Background Remover or AI White Background Generator to clear the background before uploading. A clean base image significantly improves the algorithm's edge extraction accuracy.
2. Seed Batching & Re-rolling: Dealing with Complex Styles
AI generation involves a degree of probabilistic fitting. For complex styles with drawstrings, knots, asymmetrical cuts, or sheer lace, generate 3 to 4 images per batch using the same assets, then pick the option with the most natural draping and cleanest lines for your detail page.
3. Incorporating McKinsey's E-Commerce Advice: Reduce Expectation Gaps
McKinsey's research on success vectors in online fashion highlights that high-quality product photography and transparent product details are critical for building trust and curbing returns. On product detail pages, we recommend a hybrid strategy: "AI Model Try-On Visuals + Static Flat Lay Close-ups + Accurate Physical Size Chart." This satisfies buyers' visual curiosity while maintaining an objective size baseline.
5. ProductShot AI Tool Selection Guide
In daily apparel operations, ProductShot AI offers two specialized entry points that merchants can combine flexibly:
- AI Virtual Try-On
- Best for: You already have a specific model base photo + garment image, and want to see how that specific item looks on that specific model. Perfect for styling product pages and matching social media looks.
- Reminder: Generated try-on images are for visual styling and outfit reference only, not for precise physical sizing or pattern measurement.
- AI Fashion Model Generator
- Best for: You only have flat lay or ghost mannequin garment shots, and want to rapidly generate on-model imagery across multiple ethnicities and styles to build batch lookbooks or main hero images.
- Auxiliary Image Tools
- Use the AI White Background Generator and Free Background Remover to pre-process assets before generation.
Conclusion
AI virtual try-on saves sellers massive model shooting and production costs. However, securing high-end results hinges on controlling input asset quality up front. By following these guidelines for pose, lighting, and garment flatness, you can maximize the power of Garment Locking and effortlessly produce premium e-commerce on-figure imagery.
👉 Try it now: Prepare your compliant garment and model photos, open the ProductShot AI Virtual Try-On Tool, format your assets, and generate high-quality model try-on previews instantly!
Further Reading
- Coresight Research: The True Cost of Apparel Returns & Return Rate Analysis
- eMarketer: Top Reasons Online Shoppers Make Returns
- Google Shopping Help: AI Virtual Try-On Instructions & Full-Body Photo Requirements
- Google Official Blog: Google Shopping AI Mode & Virtual Try-On Updates
- McKinsey: Six Vectors of Success in Online Fashion & Photography Strategies