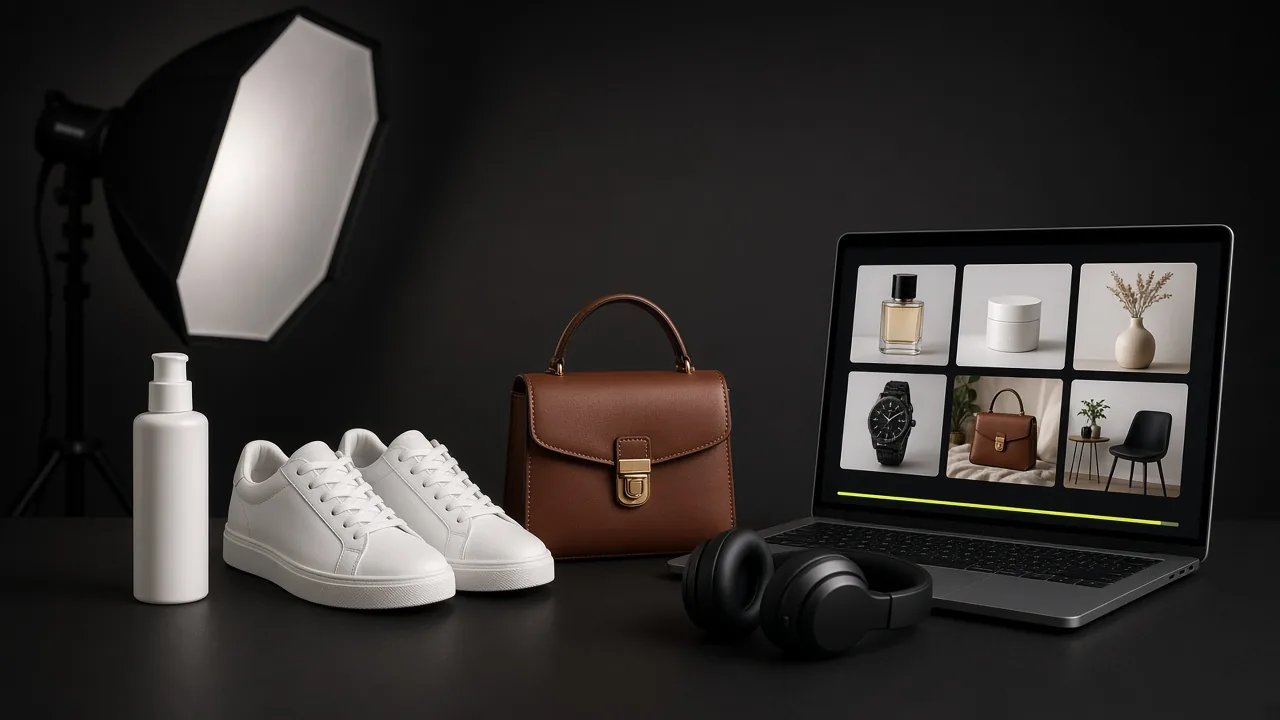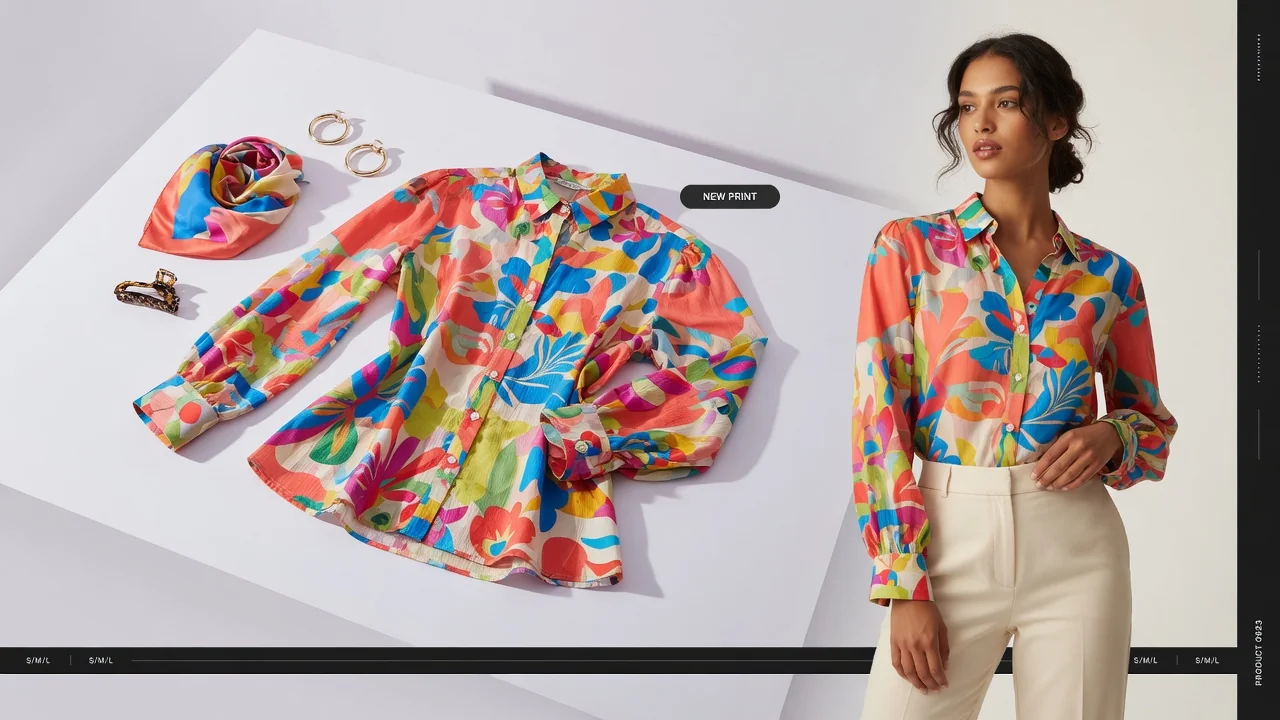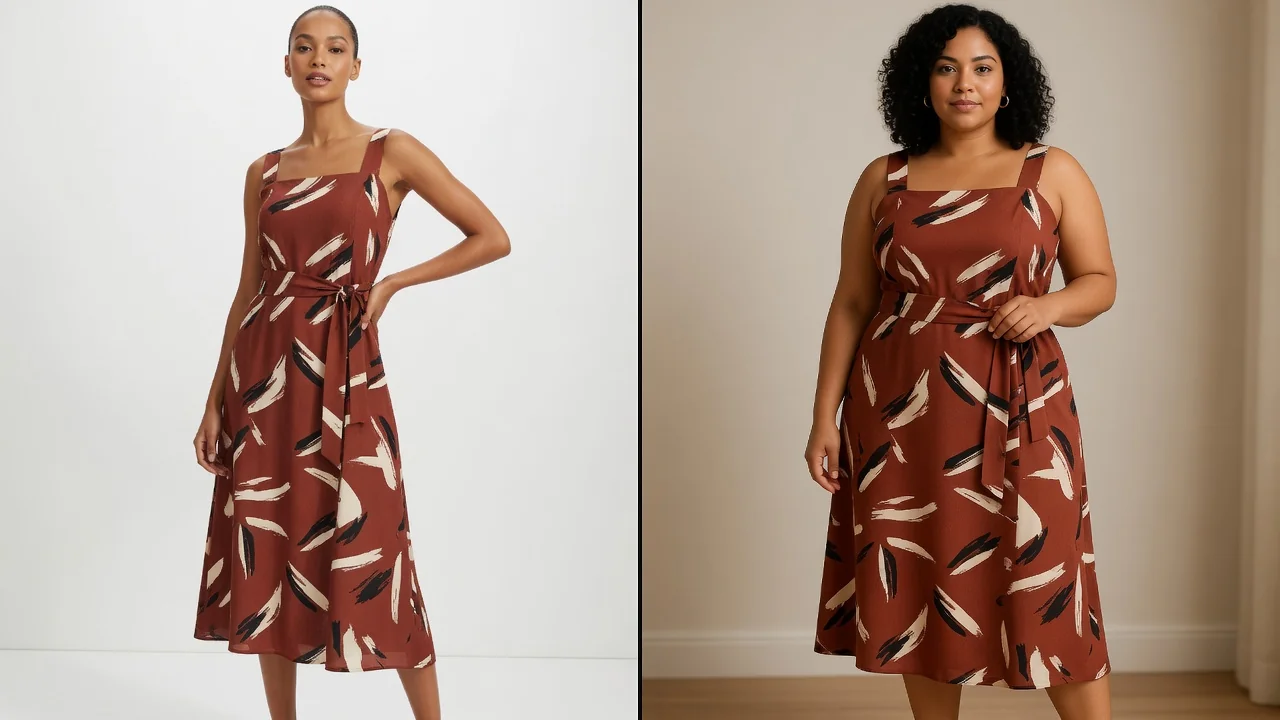
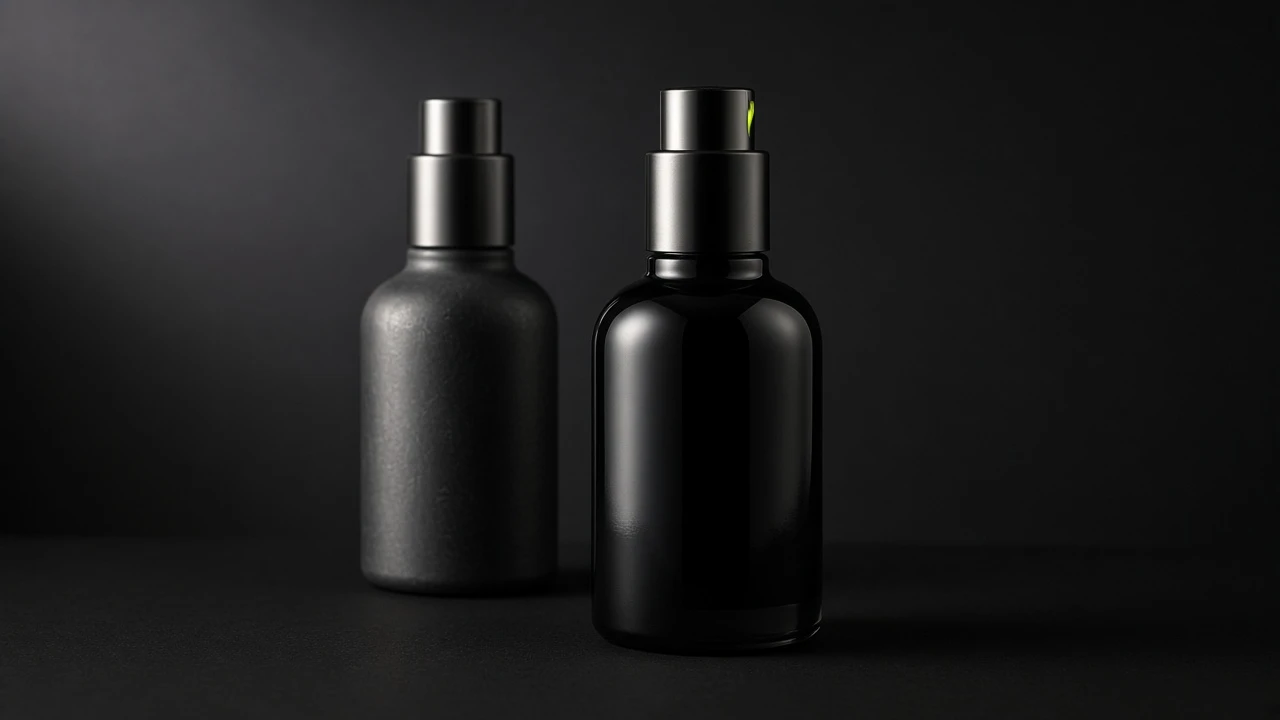
When you are dealing with flat, muddy supplier photos, your team does not need to rush into an expensive reshoot. Here is how to rebuild studio-lit product shots and natural contact shadows while keeping your actual product intact.
Flat Lighting, Gray Tones, and Messy Backgrounds Do Not Mean You Have to Reshoot
Every day in ecommerce operations, the raw assets we handle most come straight from factories or wholesale stalls. Most were snapped on a smartphone against warehouse shelves, factory floors, or office coffee tables. The look is familiar: muddy tones, no clean surface sheen, stiff or missing shadows, and a messy background littered with power cords, shipping cartons, and tabletop glare.
Faced with these messy shots, operations teams usually hit a dilemma. If you schedule a formal reshoot, you have to ship samples, wait for a studio slot, and wait for retouching. That slows down your launch cadence and runs up costs. On the other hand, if you crop the messy original and push it live, your listing looks cheap and buyers bounce.
There is a lighter, controlled middle ground between scrapping everything and rushing a bad photo live. Before doing anything, though, we need to make one clear call: does this image need beautification, or does it need scene generation?
Operators new to image generation often mix these two up. Scene generation means the angle is fine, but you want to drop the item into a completely different lifestyle context. Think of taking a coffee mug shot on an office desk and placing it on a sunlit wooden breakfast table with pastry crumbs and an open magazine, or moving a tent onto a sunset mountain ridge. That workflow is about scene building, where storytelling and environmental mood matter most.
AI product beautification tackles an entirely different problem. The starting premise here is that the physical product, camera angle, and display layout are already fine. The only real flaws are poor lighting, flat highlights, and missing physical contact shadows. We are not trying to invent a lifestyle room. We want to protect the actual product shape and details while fixing the dull lighting, putting the product on a clean surface with grounded weight. Knowing the difference saves you a lot of wasted time.
What AI Product Beautification Is, and What It Is Not
In our visual workflow, we keep our definition of AI product beautification strict. It is an image-to-image enhancement method that rebuilds lighting setups, material highlights, and ground contact shadows based on an existing, genuine product photo.
Commercial photography is rarely about camera settings. It is about how the lighting tech rigs the set. A key light sets the line between light and shadow, a fill light opens up dark areas, a rim light defines edges, and soft fill underneath drops a natural gradient shadow on the tabletop. A quick photo from a supplier simply misses that lighting system. The core job of AI product beautification is relighting that existing product digitally. It evaluates the geometry in the shot, adds clean specular highlights across plastic, metal, glass, or ceramic surfaces, and recalculates grounded contact shadows so the item stops looking like a floating sticker.
The most critical mechanism here is Product Lock.
If you have tested text-to-image tools, you know the frustration: the model hallucinates freely. Square bottle caps turn round, English brand logos get scrambled, garment stitching vanishes, and printed labels turn into weird gibberish. Product Lock exists to stop that distortion. It locks down the item outline, text labels, physical proportions, seams, and surface textures. The model is strictly barred from modifying intrinsic product features. The only things the algorithm is allowed to touch are ambient light bounce, edge reflections, and the transition between the background and contact shadows.
To keep your workflow accurate, let us be clear about what this tool is not:
First, it is not text-to-image. Text-to-image invents an image out of a text prompt with no guarantee the output matches what sits on your warehouse shelf. In ecommerce fulfillment, shipping an item that does not match the photo is a quick way to get returns.
Second, it is not a traditional transparent cutout. Basic cutout tools just strip away background pixels. The product stays flat and poorly lit, and pasting it onto a white canvas still leaves it looking lifeless.
Third, it is not a free image upscaler. Upscalers run in your browser to sharpen edges and interpolate pixels on low-res images that already have decent lighting. They do not rebuild lighting or generate grounded contact shadows. Beautification and upscaling solve two completely different problems.
Fourth, it is not 3D modeling, 360-degree spin generation, virtual try-on, or video generation. It is built strictly for studio lighting reconstruction on single still photos.
When to Beautify and When to Walk Away
Tools are only as good as the situations you use them in. If an original photo has severe composition or focus issues, running it through beautification will just highlight the flaws. Here is a quick breakdown to help you triage your assets:
| Assessment Dimension | Good Fit for AI Product Beautifier | Poor Fit for AI Product Beautifier | Recommended Alternative |
|---|---|---|---|
| Lighting & Texture | Flat lighting, muddy tones, missing contact shadows, dull material highlights | Blown-out pure white highlights, severe backlighting with a pitch-black subject | Adjust exposure and reshoot, or manually balance values in a photo editor |
| Angle & Composition | Straight-on eye level, slight high angle, neat flat lay | Heavy wide-angle distortion, severe occlusions, upside down or tilted angles | Adjust camera distance and reshoot straight to eliminate perspective distortion |
| Packaging & Text | Sharp printed copy, crisp separation between edges and background | Heavily blurred or unreadable label text, ghosted barcodes | Reshoot high-res detail shots, or lay down clean vector type in post-production |
| Platform Compliance | Clean white backgrounds allowing soft natural shadows, secondary gallery images, detail sections | Main hero images that mandate pure RGB 255 white with zero shadows | Switch to a dedicated white background tool for pure cutout processing |
| Visual Intent | Highlighting build quality, material transparency, clean tabletop presentation | Placing products into complex living rooms, outdoor landscapes, or lifestyle scenes | Use an ecommerce photography workflow designed for scene expansion and generation |
As the table shows, AI product beautification works best on genuine photos that have solid framing and clear focus, but lack studio lighting. If an original photo has severe optical or geometric defects, reshooting or switching to a specialized tool is the faster, more honest path.
Pre-Upload Photo Checklist
Spending ten seconds checking your source photo before uploading saves a lot of wasted runs. Run through these five checks:
-
Are the subject edges fully visible? Every corner of the product must sit inside the frame without being clipped off at the edges. Make sure there are no packing tape strips, loose tools, or fingers resting on the item or the tabletop.
-
Is the focus locked on the product? Zoom in and verify that surface textures and printed label edges look sharp. If phone shake or a slow shutter created visible motion blur or ghosting, Product Lock can miscalculate the edge boundaries.
-
Does the exposure preserve dynamic range? Check your highlights and deepest shadows. If light-colored packaging is blown out into a flat white blob, or shadows are crushed to solid black, the algorithm cannot invent texture where pixel data was lost.
-
Is the camera angle clean and natural? Stick to eye-level, a slight high angle, or a direct overhead flat lay. Avoid casual hand-held tilts, because a skewed perspective clashes with how the contact shadow falls on the ground.
-
Is the color cast under control? Shooting under harsh yellow incandescent bulbs or cheap greenish fluorescent tubes creates heavy color casts. The algorithm fixes light and shadow, but an unnatural base cast can throw off material detection. Balance the white point in your phone photo editor before uploading.
Step-by-Step in the AI Product Beautifier
Once your source photo is ready, you can jump into the tool. In ProductShot AI, we wrapped the lighting engine into a straightforward interface. Here is the six-step workflow:
Step 1: Open the tool and upload your product photo.
Head over to the AI Product Beautifier (AI 商品美化) and upload your single product image in the workspace. Two details to keep in mind: the tool processes one product photo at a time and does not take extra reference images, and it supports standard JPG, JPEG, PNG, and WebP formats.
Step 2: Pick your preset and aspect ratio.
The tool offers six presets calibrated for studio lighting: Default, Clean Studio, Pure White, Original Scene, Warm Ambient, and Top Down. Pick the one that fits your category and placement.
Next, choose your aspect ratio. Options include Auto, 1:1, 16:9, 9:16, 4:3, 3:4, 3:2, 2:3, 4:5, and 21:9. If you are unsure about exact pixel dimensions, select Auto to keep your source image's original aspect ratio and prevent cropping.
Step 3: Add an optional custom description.
Below the presets, there is an optional text field for custom prompts. If you have specific tweaks in mind for the background, light direction, or overall tone, enter them here. For example, typing "light gray minimal surface with soft diffuse side lighting" steers the output toward that exact tone. Keep it to brief phrases rather than conflicting adjectives.
Step 4: Confirm generation and review credit usage.
Hit generate to start rendering. Each run produces one clean 2K resolution image. In terms of credits, each generation costs 10 credits. New accounts receive 10 free credits upon sign-up, which covers one full test run on a product photo.
Step 5: Inspect details with the before/after slider.
Once rendering finishes, the viewer shows a split before/after slider. This is your most important step for checking Product Lock. Zoom in and drag the slider across three key spots: first, confirm brand logos and label text match the source without warping; second, check that outer edges are clean with no weird pixel artifacts; third, verify that the contact shadow fades naturally so the product sits firmly on the surface.
Step 6: Download the asset and track your history.
Once the image checks out, hit download to save your 2K image locally. When logged in, all completed generations are saved in your generation history so you can review or retrieve them later.
When to Use Each Preset
The six presets correspond to standard commercial studio lighting setups. Here is when to pick each one:
- Default
This is our general-purpose preset with the widest coverage. It mimics neutral diffuse light from large softboxes, offering smooth gradations and balanced reflections. It works well for home goods, stationery, snacks, and standard boxed products. If your product does not require warm or dramatic mood lighting, Default delivers a crisp, true-to-life presentation.
- Clean Studio
Clean Studio uses punchier, modern tabletop lighting. It places the item on a clean, softly lit light-toned surface with defined specular edge highlights. This look fits electronics, small appliances, and skincare bottles, bringing out clean separation along plastic and metal contours.
- Pure White
This preset does not generate a flat cut-and-paste color block. It delivers studio white photography that retains realistic contact shadows. It simulates a product shot on seamless white backdrop paper with balanced front and side fills. It is great for direct-to-consumer store product cards, secondary carousel slides, and feature breakdown graphics where you want a crisp look with grounded depth.
However, if you are building hero images for marketplaces that strictly demand pure RGB 255 white with zero shadows, this preset will not meet a zero-shadow main-image rule. For strict, zero-shadow marketplace requirements, use the AI White Background Generator instead to produce a compliant cutout.
- Original Scene
This is one of the most practical options in everyday operations. Often, the supplier shot on a textured surface that actually works—like reclaimed wood, marble, or a metal shelf—but dim lighting turned the scene into a muddy mess where the product blends into the background. Original Scene keeps the background and relights the shot. It locks the original composition, recalculates highlights on the product, and rebuilds ambient occlusion where the product meets the surface, giving the original background a clean, lit look.
- Warm Ambient
This preset shifts color temperature toward late-afternoon sunlight, casting warm edge glows and soft, warm-tinted shadows. It works nicely for baked goods, coffee gear, scented candles, wooden crafts, and fall or winter apparel accessories where you want a cozy feel.
- Top Down
Built specifically for flat lay photography. When you shoot flat-laid apparel, stationery sets, or makeup brush kits, standard perspective lighting casts unnatural horizontal shadow trails. Top Down simulates an overhead ring light and broad diffusers, spreading light evenly across the surface so soft shadows disperse evenly in all directions.
Edge Cases: Where the Workflow Fails
Every tool has limits. Knowing where AI product beautification struggles helps you avoid burning time on unworkable inputs:
First, mirror-finish metals and multi-refraction glass.
Polished stainless steel, chrome plating, and clear crystal glassware reflect whatever is in the room. If the supplier's raw photo shows warehouse clutter or ceiling pipes in the reflection, Product Lock treats those reflections as part of the product. The model cannot always tell genuine product graphics from unwanted room reflections, leaving messy patches on reflective surfaces.
Second, tiny regulatory text and ingredient panels.
Cosmeceuticals, supplements, and food packaging often carry tiny ingredient lists. If that text is already blurred from optical defocus or heavy compression, Product Lock tries to preserve the letter outlines, but it cannot guess missing characters. For micro-text, you are better off laying down crisp vector type in post-production.
Third, marketplace hero requirements for absolute pure white.
The beautifier prioritizes physical realism, which means even the Pure White preset leaves a soft grounded shadow. If your sales channel insists on an absolute pure white background with zero shadows, that natural shadow can trigger an automated compliance flag.
Fourth, extreme perspective distortion or inverted angles.
If a photo was shot at a strange angle or suffers from severe wide-angle distortion, the tool cannot pivot it into a clean front view. AI product beautification recalculates light and shadows; it does not rotate 3D geometry. Forcing it to fix broken angles will only create warped shapes.
Fifth, requests for multi-angle consistency or animated video.
The tool processes one still image at a time, generating a single 2K still output. It does not maintain exact lighting across varying camera angles, and it does not output video, GIFs, or 3D files.
Check Platform Guidelines Before Going Live
Getting a studio-lit product image is not the final step. Before uploading images to your listings, you need to check them against your target platform's image standards. Visual polish only matters if your listings stay compliant.
If you sell on Amazon, the marketplace enforces strict rules around pure white main images, frame fill ratios, and prohibited promotional badges. Requirements differ across categories and regional stores, so check the official Amazon Seller Central Product Image Requirements to see whether your category permits natural contact shadows on main images.
If you run Google Shopping campaigns or manage a catalog in Merchant Center, image compliance directly affects your impressions. Google actively flags distracting backgrounds, promotional borders, and watermarks. Refer directly to the official Google Merchant Center Product Image Guidelines to keep your feeds approved.
For framing choices, color harmony, and visual pacing across secondary images and detail sections, look over the Shopify Ecommerce Photography Guide for clean commercial styling and visual hierarchy ideas.
Compliance is always step one. Software helps us speed up visual production, but verifying final assets against channel rules stays on you.
Frequently Asked Questions
Q: What is the real difference between AI product beautification and background removal?
A: Background removal only clips the subject out and deletes the surrounding pixels without touching the lighting. If the original photo was dark or flat, pasting that cutout onto white still leaves it looking dull and floating. AI product beautification keeps the product's physical boundaries intact while rebuilding highlights and natural contact shadows so the item looks grounded under studio lighting.
Q: Why does the Pure White preset still show a shadow under the product?
A: Real seamless white studio photography still obeys physics. Placing an object on white sweep paper creates a natural contact occlusion shadow. That subtle shadow provides depth and keeps the product from looking like a floating cutout. If your platform explicitly bans all shadows on main images, use a dedicated pure white cutout tool instead.
Q: Can the tool remove watermarks or messy reflections from supplier photos?
A: No. Product Lock prioritizes protecting the product from alteration, which includes surface marks and flaws. If the original image has watermarks or heavy scratches, they will likely remain in the output. Clean those marks off before uploading.
Q: Why can I only upload one image at a time instead of running batch uploads?
A: That is an intentional product boundary, not a compute mystery. The tool processes one image at a time with no reference inputs and no bulk pipelines. The goal is inspecting edges, labels, and textures carefully on that single shot rather than running a bulk batch blind.
Wrap-Up and Operator Takeaways
For ecommerce operators, supplier photos do not have to be the end of the line for visual quality; they can be the starting point. You do not always need a full studio budget for every new SKU you test. If you separate beautification from scene replacement and rebuild lighting on clean, well-framed shots, you can turn flat photos into studio-grade listings while keeping the real product intact.
If you want to add studio-grade lighting to the product photos you have on hand, head over to AI Product Photography for Ecommerce Sellers and start for free.
Sources
- Ecommerce Visuals and Hero Image Retouching Breakdown
- Discussion on Ecommerce Photography, Relighting, and Product Texture
- Supply Chain Photo Standardization and Visual Upgrade Paths
- Amazon Seller Central Product Image Requirements
- Google Merchant Center Product Image Guidelines
- Shopify Ecommerce Photography Guide