A practical guide to reducing product image file size for Amazon, Shopify, ads, and email—plus when free browser compression is enough.
Free product image compression is a browser-side way to reduce ecommerce file size before upload, without redesigning the product photo. In practice, sellers compress JPG, PNG, or WebP assets so marketplace checks, storefront themes, email tools, and ad managers stop rejecting or slowing down oversized images.
If your product photo is already usable—edges readable, packaging clear, composition approved—compression is usually the right first step. If you need a new white background, lifestyle scene, or campaign visual, use an AI product photography generator after the file is clean and lightweight enough to work with.
Why product image size still matters
Ecommerce platforms and storefronts do not only care about aesthetics. They care about upload limits, mobile load speed, CDN cost, and whether zoom still works after delivery. Oversized supplier exports and design files often arrive as multi-megabyte PNGs or lightly compressed JPGs. Those files can:
- fail upload validation,
- slow collection pages on mobile,
- bloat email banners and ad creatives,
- force repeated desktop re-exports just to ship one SKU update.
Compression does not invent a new product photo. It reduces bytes while trying to keep labels, materials, and edges usable. That is why free browser compressors are popular for listing QA and campaign packaging: the decision is fast, local, and reversible if the settings go too far.
Practical size benchmarks by channel
Exact requirements change by theme and ad format, but current ecommerce practice clusters around a few useful ranges:
| Channel / use | Useful starting target | Notes |
|---|---|---|
| Shopify product images | Around 2048×2048 for square masters; keep many live product files well under a few MB | Shopify allows large uploads (commonly up to about 20MB), but lighter files still help collection pages and mobile browsing. |
| Amazon-style main images | Long edge often 1600px+ for zoom; white or light neutral background rules vary by category | Priority is clarity and product fill, not maximum megabytes. |
| Ads / social crops | Export masters first, then crop; lighter JPG/WebP for paid placements | Heavy design exports slow creative testing more than they help quality. |
| Email headers / banners | Often far smaller than product zooms | Compress more aggressively when fine packaging text is not the job of that asset. |
Use these as operating targets, not universal laws. Always preview the compressed file in the actual listing or theme module before bulk publishing.
When compression is the right next step
Compress when the photo is already compositionally correct and the only blocker is weight. Typical cases:
- supplier packs exported too large for upload tools,
- marketplace downloads that still need a mobile-friendly pass,
- approved campaign posters that re-export huge every time,
- storefront banners that only need lighter delivery, not a redesign.
Do not treat compression as a substitute for cutouts, retouching, or scene generation. If packaging text is already soft, lowering quality will make it worse. If the background is messy, remove or replace the background first, then compress the finished asset.
How to compress product images without wrecking detail
- Start from the best usable master. Prefer the cleanest approved product image, not a screenshot of a screenshot.
- Choose long-edge limits intentionally. For many listing masters, 1600–2048px is a practical range. Smaller long edges save more bytes but can soften label type.
- Lower quality in small steps. Preview packaging text, logos, and hard edges after each change.
- Pick the output format for the workflow, not fashion. JPG is still the collaboration default in many teams. WebP often wins when smaller size is the priority and the destination supports it.
- Reject results that do not shrink. A larger “compressed” export is not a win. Change format, long edge, or quality and try again.
- Check the real placement. Open the file in a mobile listing card, collection grid, or ad preview before you batch the rest of the catalog.
JPG vs WebP for ecommerce workflows
| Format | Choose it when | Watch out for |
|---|---|---|
| JPG | Your store, agency, or marketplace workflow still expects a universal still-image format | Transparent sources need a white or solid composite before JPG export |
| WebP | You want a lighter file first and the destination accepts WebP | Some older partners and design handoffs still prefer JPG |
A useful rule: keep one high-quality master, then export channel-specific lighter variants. Do not destroy the only good original by over-compressing it in place.
Common compression mistakes
- Crushing quality first. Long-edge reduction often saves more with less visual damage than aggressive quality sliders alone.
- Compressing before cleanup. Messy backgrounds, watermarks, and soft focus should be handled before you chase smaller bytes.
- One setting for every asset. Main images, swatches, banners, and email headers need different budgets.
- Ignoring labels. Supplements, skincare, and electronics live or die on packaging readability at mobile size.
- Calling a larger file “compressed.” If size did not drop, the settings failed.
A free browser workflow with ProductShot AI
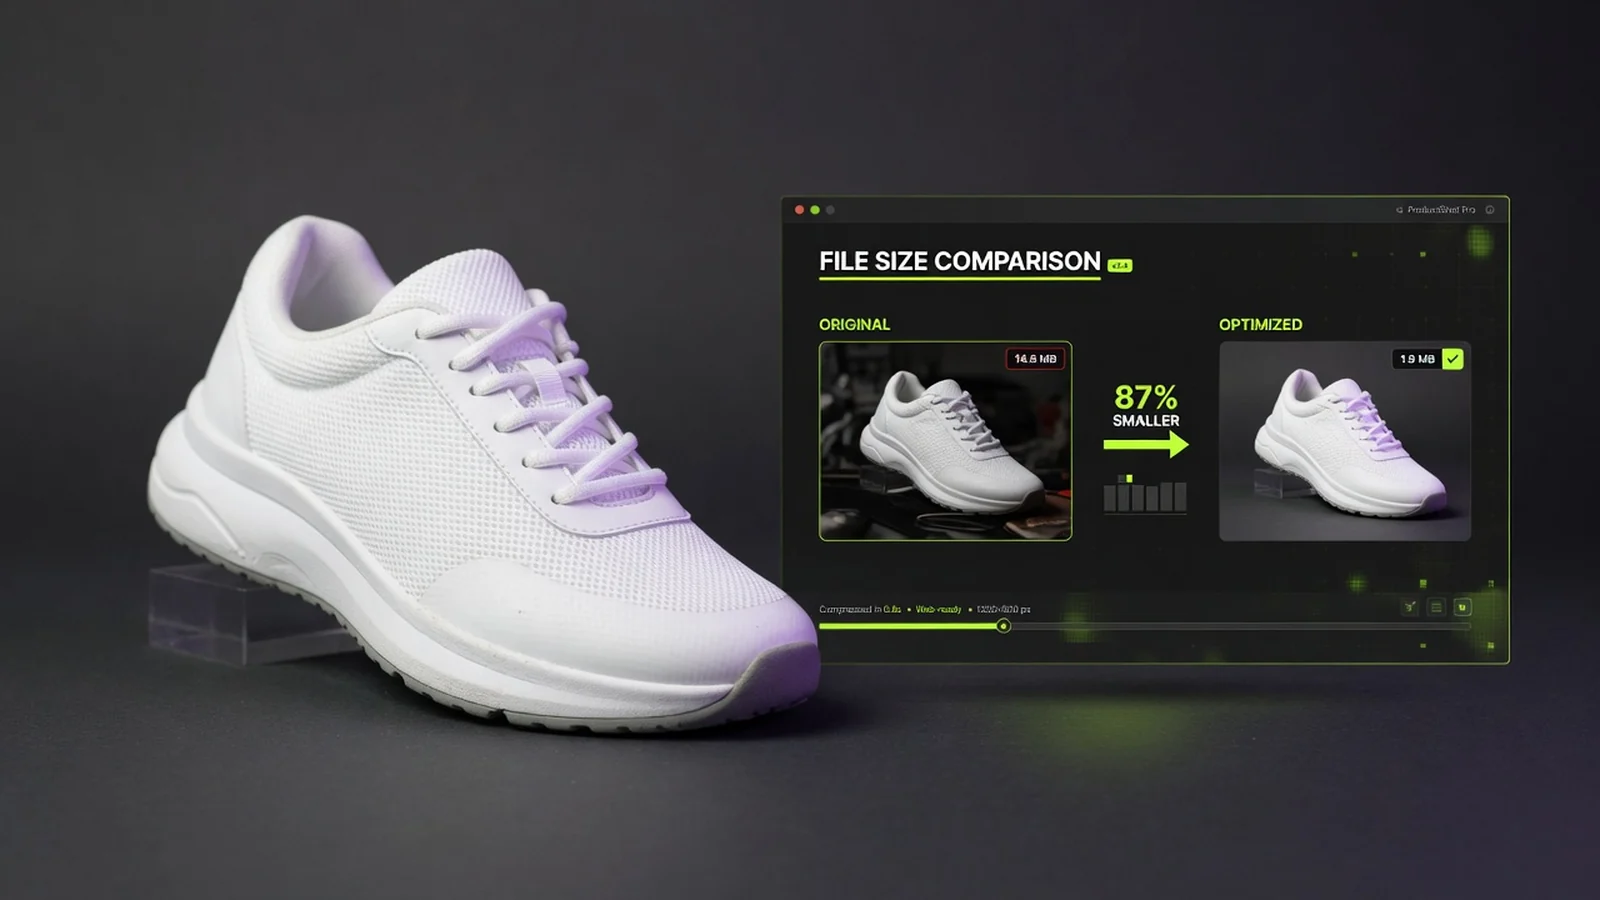
ProductShot AI Free Product Image Compressor is built for this exact job: upload one product image, set quality and max long edge, preview original vs compressed size, and download JPG or WebP. It runs in the browser with no login, no generation credits, no watermark, and no saved history.
That makes it useful during listing QA or campaign handoff, when you only need a lighter version of an already approved asset. If the result still needs subject isolation, continue with the free background tools. If you need a brand-new studio or lifestyle photo, open the AI Product Photography Generator after the source is ready.
What to do after compression
- Store a clean master and a lighter publish variant separately.
- If the product still sits on a messy background, use Product Background Remover or Transparent Product PNG.
- If you need clarity cleanup on an existing photo, try the free enhancer.
- If you need new white-background, studio, or lifestyle scenes, move to AI Product Shot.
Compression is the unglamorous step that keeps ecommerce image systems moving. Done well, it protects page speed and upload reliability without asking you to re-shoot the product.